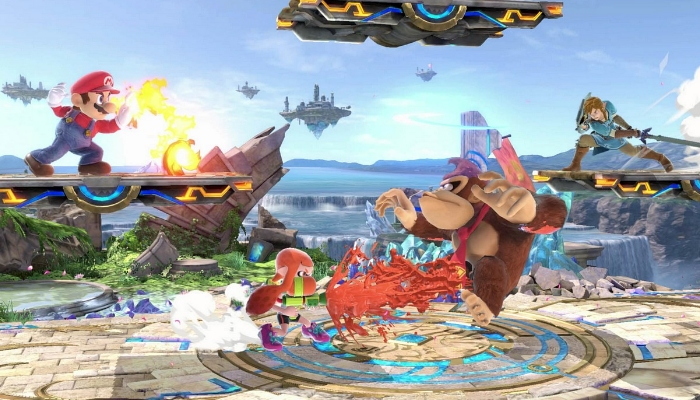
Welcome Smash Bros. to the Smash Academy! Today we will start our lesson plan with a primer on the basics of Super Smash Bros. Ultimate. Whether you are a veteran or a newcomer, you may find something of use here in our general beginner’s guide on becoming a better fighter!
For starters, we are going to over the core mechanics of your offensive and defensive capabilities. So, without further ado, let’s get right to the guide on becoming a better fighter!
Offensive Options Part 1: Normals & Smashes!
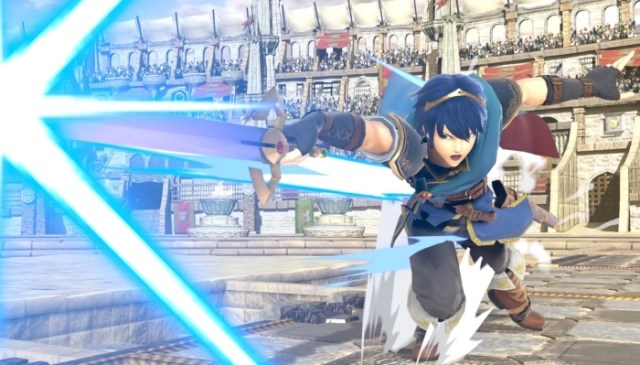
Your first course of action should be getting to know your character’s normals, tilts, and smash attacks, otherwise known as the A-button attacks. Your rapid jab (neutral A) and tilt attacks (tilt + A) are great for building up percentage. These attacks come out relatively fast and have short recovery times, so the chance of counter attacks from your opponents are low.
Smash attacks, performed by quickly tapping a direction (up, down, or side) are your heavy hitting KO moves that you want to use when your opponent is at high percentage. These attacks, while having lengthy animations and long recovery times, can KO your opponents if they connect!
But, as you can probably guess, you should not throw these out randomly as deft opponents can capitalize on your openings! You can also charge them for even more power, and now in Ultimate you can hold fully charged smash attacks for much longer than usual.
You should also get to know your aerial attacks as well. Each fighter has four air attacks – a forward air, a back air, a down air, and an up air. These attacks are useful for chasing your opponent after you launch them. Keep the pressure on with these quick aerial attacks, but just watch out for aerial counter attacks of their own!
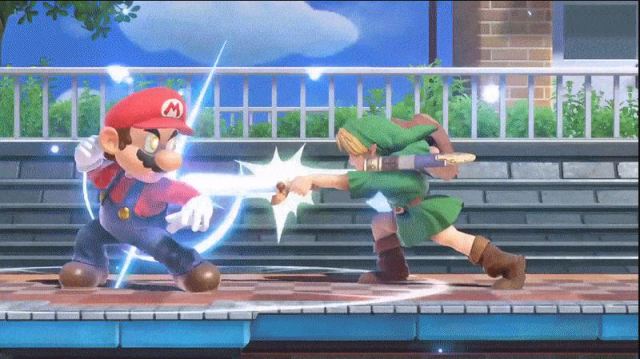
It is also important to note that some aerials (mostly down airs) cause an effect called “Meteor Smash”. Some examples of Meteor Smash moves are Mario’s forward air, Kirby’s down air, and Donkey Kong’s forward AND down air.
If a Meteor Smash connects, your opponent will be suddenly shot downward, making it extremely difficult – if not out right impossible – to recover! When you launch your opponents off-stage, watch their movements closely, then jump in and intercept!
Offensive Options Part 2: Specials!
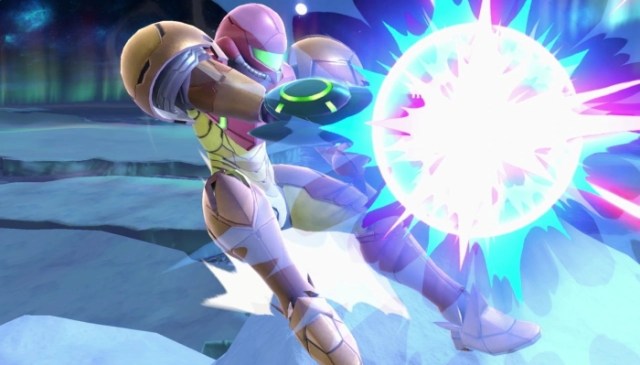
Now, let’s go over your fighter’s other set of moves. Special moves are performed with the B-button, and just like your normal attacks you have a neutral special, side special, up special, and down special.
In general, special moves tend to deal less damage than your normals, but they make up with increased utility. For example, many fighters have projectiles as their specials which allow them to damage opponents from safe distances.
Each fighter’s specials work a little differently than the others, so you will need to experiment and refer to the in-game guide for details on how your specials work. Most of them are straight forward however and easy to understand, so do not feel overwhelmed!
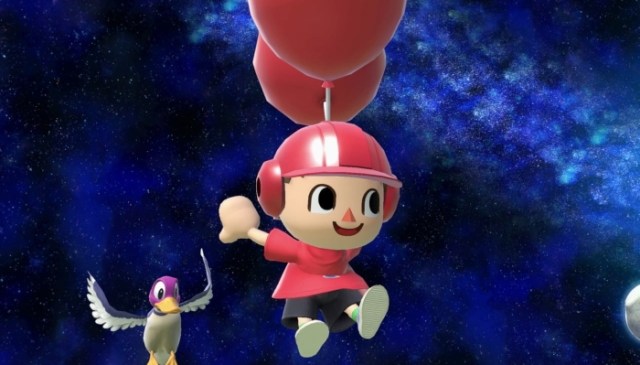
Your up special is probably the most important special, however. A majority of the fighters’ up specials propel them upward, and you will need to use this in order to recover back to the stage when you get launched really far.
Finally, if you are playing with items on or the FS Meter enabled, you can unleash pure destruction with your Final Smash! If a Smash Ball spawns, break it and your character will begin to glow. Perform your neutral special (B-button while standing still), and if the initial hit connects, your fighter will wreck shop with their Final Smash!
If one of your opponents has their Final Smash ready, remember that the first hit MUST connect in order for the Final Smash to trigger properly. This means that you can try to play with your opponent to bait them to use it too early or late. Note: some Final Smashes are area-affect attacks that come out regardless, so be careful of these!
Offensive Options Part 3: Grabs and Throws!
Grabbing can be performed by pressing a dedicated grab button or pressing your neutral attack button while shielding. If you successfully grab an opponent, you can rapidly press the attack button to pummel them, building up a little bit of damage.
You can then finish the grab with a throw, and fighters have four throws just like everything else: a forward throw, back throw, down throw, and a up throw. Make sure to throw your opponent before they break free!
If you are grabbed, immediately start mashing all of your buttons and wiggle your control stick to break free of the grab. The higher percentage you are at when you get grabbed, the harder it is to break free. Once a fighter is grabbed, they may not be grabbed again for a short period of time, as indicated by the flashing yellow frames.
Defensive Options Part 1: Shielding and Powershielding!
In times of danger, your shield will protect you from all incoming harm temporarily. As your shield takes damage, it will shrink in size, and if it completely breaks, you will be stunned for a few seconds, leaving you completely vulnerable to attack! Do not let this happen and be sure to get out of the way if your shield is too weak.
Shielding at the right moment is key, as some moves can be performed immediately out of shield, such as grabs, up smashes, and other attacks. Keep in mind that shielding does NOT prevent opponents from grabbing you, so be careful of those who are too close for comfort!
“Powershielding” is an advanced high-risk, high-reward technique. When you let go of your shield, you will notice that your fighter has a few frames of end lag. If you time it so that an attack hits you as your fighter is in this stance, you will perform a Powershield, indicated by a dramatic pause and a bright glow effect on around your fighter.
Powershielding has one big advantage to it: performing it successfully will eliminate all after lag, essentially leaving you free to counter attack! However, as you can probably guess, your timing MUST be precise in order for it to trigger, and dropping too early/late will result in you eating a potentially big attack. We recommend practically this technique in training before you try to attempt it in a real match!
Defensive Options Part 2: Dodge Rolls and Air Dodging!
While holding down your shield button, moving left, right, or down will result in a dodge. During a dodge, your fighter is completely invincible, as indicated by the flashing white frames.
Dodging left or right will make your fighter perform a dodge roll, potentially putting you on the side of your opponent. Dodging straight down will make you “spotdodge,” which is essentially a dodge in place. Great for dodging projectiles or smash attacks!
Dodging is a great tool to use, but do not do it too much. Excessive dodging in a short period of time will result in your dodge rolls and spotdodges to lose invincibility frames, meaning you will be vulnerable faster than normal. Your dodge rolls will also come out slower, so beware!
You can also perform an airdodge by shielding while airborne. If you hold down a direction as you airdodge, your fighter will get a small momentum boost in that direction, which is useful for trying to clear a projectile that might just barely graze you.
Airdodging only grants you a few frames of invincibility, so it must be used with diligent timing. Additionally, airdodging has a very long recovery time, so be careful not to airdodge off the stage!
And with that, our beginner’s primer on mastering the basics of being a better fighter is complete! We will have more Super Smash Bros. Ultimate tips for you in the future, so stay tuned! And, as always, we are sure you have more helpful hints, so let us know in the comments below!

Published: Mar 1, 2019 04:34 am