Throughout his journey across Hyrule, Link can take photos of wildlife, monsters, and more using his fancy new Purah Pad, but the camera function has to be unlocked first. Here’s how to take pictures in Zelda: Tears of the Kingdom.
How to take pictures in Zelda: Tears of the Kingdom
The camera function in the Sheikah Slate from Breath of the Wild returns in Tears of the Kingdom, installed into the newly developed Purah Pad. Depending on where you start adventuring, you can potentially miss the quest to unlock the camera function entirely, so here’s what you need to do.
How to unlock the camera
Upon landing into Lookout Landing for the first time, Purah shows you around and gives you the Paraglider to get Link up to speed. Afterwards, you’re free to talk to all the villagers, and you may have noticed Josha and Robbie mumbling about something.
Go below Purah’s lab to find Josha and Robbie bickering about something. Talk to Josha to learn that she wants to dive into the mysterious new holes that have appeared on Hyrule’s surface to research the dark underground areas, but Robbie is afraid of what’s lurking down there.

Since Link happens to show up at this very convenient time, Robbie asks you to go in her place instead, starting the main quest “Camera Work in the Depths”. Your mission is to meet Robbie in the depths and get some photos for research.
Before you head out, make sure you have a handful of Brightbloom Seeds on you—you’ll need them to light your way through the shadowy abyss. Whenever you’re ready, head directly south of Lookout Landing to reach the Hyrule Field Chasm. You can also fast travel to the Jiosin Shrine right next to it, which you probably have unlocked.
The chasm opening looks pretty scary, doesn’t it? Don’t worry, you’ll be fine, so dive right in. Once you enter the depths completely, signified by your mini-map changing, equip some Brightbloom Seeds and hold R to enter slow motion, then start throwing them around to light up your landing zone.
If this is your first time in the depths, head south from your landing point to reach a giant glowing tree. This is a Lightroot, and they serve as not just fast travel points in the depths, but also beacons of light; activating a Lightroot lights up the surrounding area, greatly increasing visibility.

Your rendezvous point with Robbie is a little to the west. Keep chucking your Brightbloom Seeds in dark areas to light way, and eventually you’ll reach the Iayusus Lightroot.
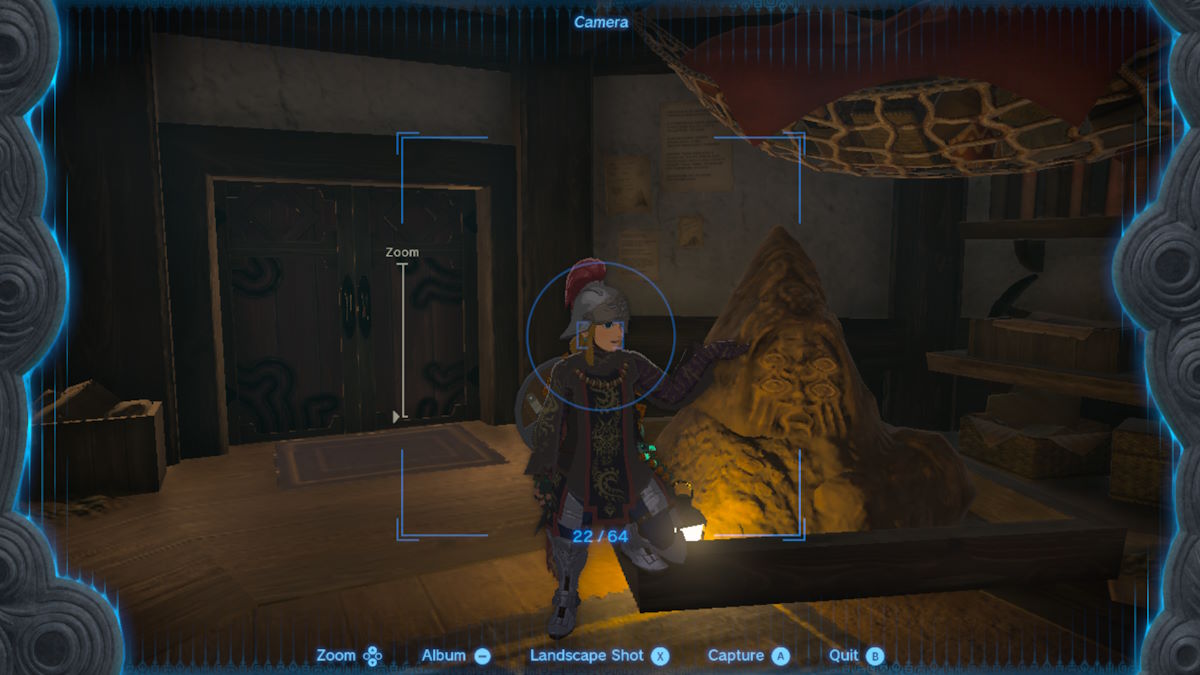
Robbie is waiting by a campfire next to a large statue. Talk to Robbie, and he’ll ask you to take a photo of the statue using the camera function on the Purah Pad. Hold the ‘L’ button to bring up the ability wheel, then select the Camera. Snap a photo with the ‘A’ button.

Show Robbie the photo, then report back to Purah’s lab at Lookout Landing. By the way, you can fast travel between Hyrule’s layers at any point by using your map—you don’t actually have the be on the layer you want to fast travel to.
Back at Lookout Landing, talk to Josha and Robbie to finish the quest. You now have free access to the Purah Pad’s camera function, so you can start snapping photos whenever you like.
Robbie and Josha’s questline doesn’t stop there, and following it through unlocks the ability to store Zonai blueprints for your various contraptions. Check out our guide on unlocking the Autobuild ability in Tears of the Kingdom for more details.
How to use the camera to take photos and selfies
You briefly learn how to use the basic functions of the camera during the quest to unlock it, but there are a few more things you can do with it. As we mentioned, you can access the camera at any time during your adventures by holding down the ‘L’ button to bring up the ability wheel, then select the camera using your stick.
If you want to take pictures of things far away or close to you, you can use the directional pad to zoom in and out.
You can press the ‘X’ button to enter selfie mode, which is the perfect mode for taking goofy shots of Link and friends. You can even make Link pose by moving the left stick in different directions, letting players take the ultimate meme-worthy photos.
How to take photos for the Hyrule Compendium
For the collectors and completionists out there, the Purah Pad comes installed with the Hyrule Compendium, which is an encyclopedia of all the things you can find in Hyrule. The only problem is that it’s completely empty, so it’s up to you to fill it out.
The Hyrule Compendium accepts creatures, monsters, materials, weapons, and treasure. To add a new entry into the compendium, you have to snap a photo of it with your camera.
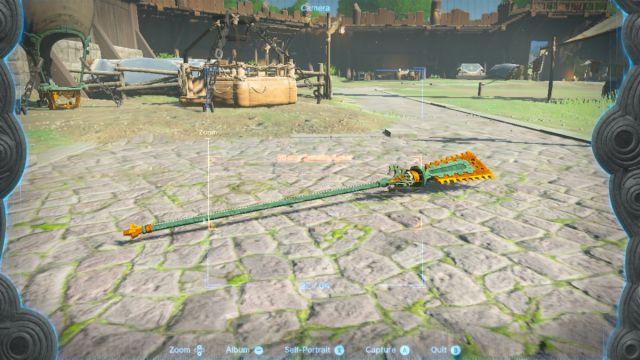
Simply aim at the item you want to add to the compendium, and you’ll see a target border appear around it when it’s ready to be snapped. Pay attention to the color of the target border—if it’s blue, the item is already registered to the compendium, and if it’s orange, it’s a new discovery!
Filling out the Hyrule Compendium isn’t required for anything, but it’s helpful for those who like to collect items. The Purah Pad lists the regions where you can find the item or creature in question, which is incredibly useful in case you forget where to find something.
Hyrule is a massive world to explore, so be sure to check out our dedicated Tears of the Kingdom guide collection for more helpful tips.


Published: Nov 15, 2023 07:44 pm