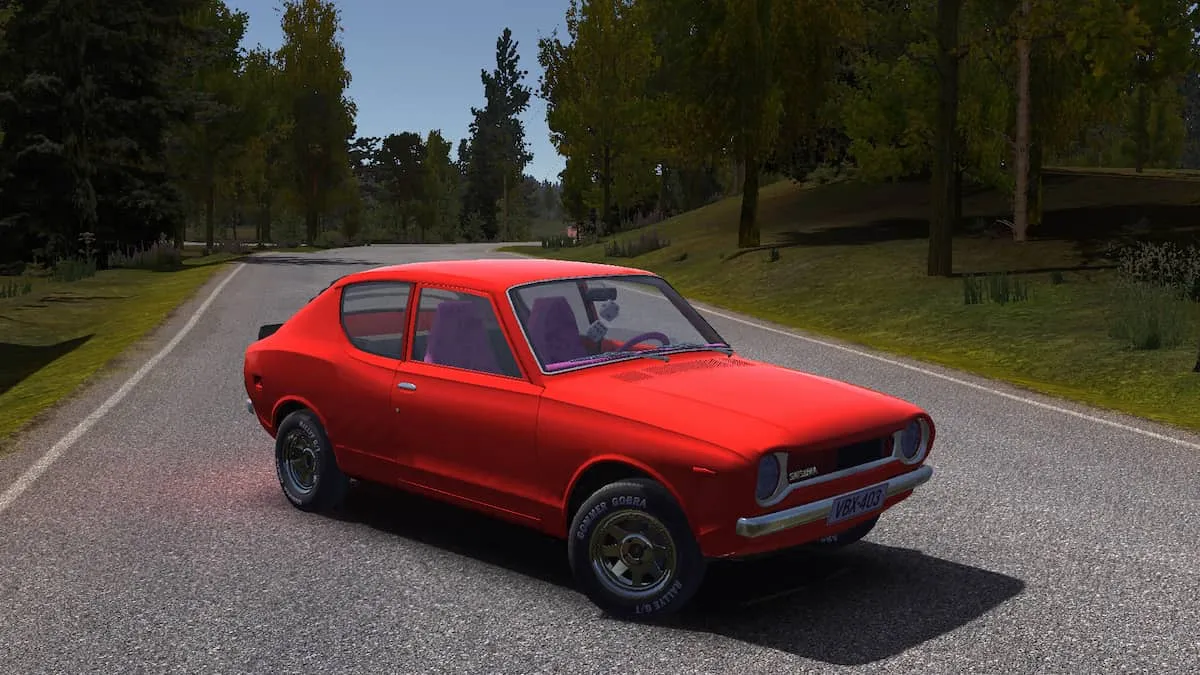
Amistech Games’ My Summer Car is a simulation game that will have you working on building your own running car from scratch. The game does a good job of making such a process as realistic as possible—which means this is going to be a headache for some, but a very enjoyable project for many as well.
That said, here’s a quick guide on how you can build your first car in the game. There is a lot of advice out there, but we have simplified it for you so you won’t have to go through the trouble of searching for info anymore. It’s all here.
Ready to build your first working vehicle in My Summer Car? Let’s go!
Things to do before working on your car

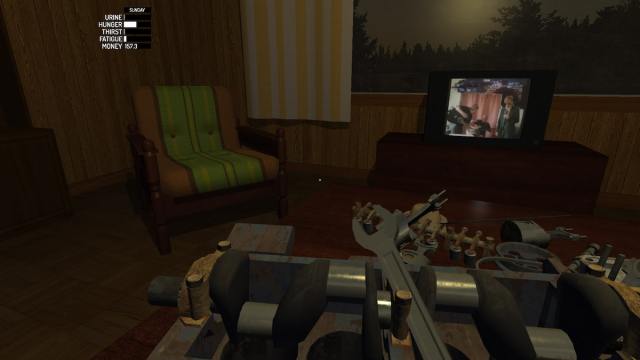
My Summer Car isn’t just about building your car. It’s also about you, the character who is building the car. You’ll have to take care of yourself as you take on the laborious task of building a working car from scratch.
The game is designed to be very realistic, which means there’s permadeath—your character can die in the process of building that first car. You need to be very careful to monitor your urine, hunger, thirst, and fatigue levels so you don’t kill yourself.
What to get before working on the car
So, before building your car you’ll need to gather enough money so you can stock up on as many resources as you can. Save the game, then buy the following items:
- Food and supplies for your person
- Supplies for the car you’ll be working on (see table below)
Here’s what you need to buy:
| Part Name | Quantity |
| Alternator Belt | 1 |
| Battery | 1 |
| Brake/Clutch fluid | 4 |
| Coolant | 2 |
| Gasoline | 18 liters |
| Motor Oil | 2 |
Basically, you’ll need to buy those things on the shelves on the left wall in the store. Be sure to bring a gasoline canister for the fuel, which you will need to start your car later on. Also, connect the car battery to the charger before working on your car. It will be charged by the time you finish the car.
Working on your car
You should be ready to build after securing all of that. Here’s a step-by-step guide to building your car.
Your Car’s Front Suspension
Start by working on your car’s front suspension. This will allow you to work on your car’s frame and underpinnings.
Place the floor jack under the front bumper, then lift the car as high as possible. After that, go to your toolbox and press “use” while hovering your cursor over its opening. Then, work on the following parts in this order:
- Attach the sub frame using four 10mm screws. Next, attach the front left and front right wishbones using two 10mm screws for each, and attach the front left and front right spindles using one 12mm screw each
- Put on the two disc brakes without tightening them, then put on the two halfshafts using three 9mm screws. After that, tighten the disc brakes using one 14mm screw for each disc brake.
- Attach the steering rack using four 9mm screws. Next, put on front left and front right steering rods without tightening them, then do the same for the front left and front right struts.
After that, tighten the two steering rods using one 12mm screw each, followed by a size 14 adjustment nut. Tighten the struts using three 10mm screws on top, and four 9mm screws at the bottom. Attach the front left and front right wheel steels using four 13mm screws, then attach the steering column using two 8mm screws.
Your Car’s Rear Suspension
After working on the Front Suspension, lower the car frame and move the floor jack to the rear bumper. You’ll then need to lift the frame as high as possible so you can work on your car’s rear suspension, specifically the Trail Arms, Coil Springs, Shock Absorbers, Drum Brakes, and Rear Wheels.
Now, attach the rear left and rear right trail arms using two 12mm screws each, then attach two coil strings and two shock absorbers using one 12mm screw on top of each, followed by two 6mm screws each at the bottom. Next, using two 14mm screws, attach two drum brakes, then attach the rear left and rear right wheel steel using four 13mm screws each.
Related | How to Unlock story in Pixel Car Racer
Now that you have the front and rear suspensions ready, let’s move on the next major thing: the Engine.
Working on Your Car’s Engine
Your car needs a good, working engine to be able to run. It’s not that difficult to build an engine. All you need to do are the following steps:
Before working on the engine
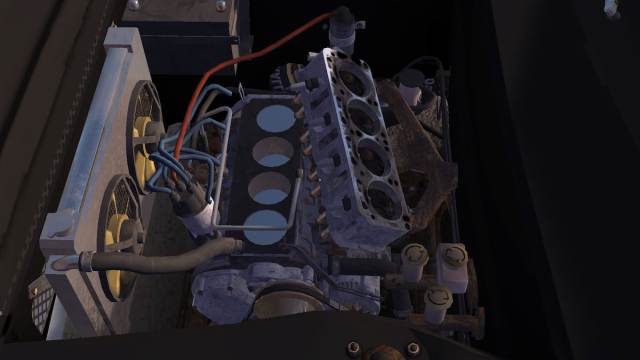
Lower the floor jack, and leave your car for a while. Then, set your car’s engine block on a work table and work on the following:
- Attach the crankshaft to the engine block. Next, attach the first, second, and third main bearings using two 9mm screws for each; and attach pistons 1, 2, 3, and 4 using two size 7 nuts for each.
- Attach the head gasket to the engine, then attach the cylinder head using ten 7mm screws. attach the headers using five 8mm screws.
- Place the motor hoist on top of the engine, and fasten the engine to the motor hoist using two 10mm screws. The engine will be aligned to the correct position as you tighten the screws
- First, attach the carburetor using four 8mm screws. Next, attach the rocker shaft using five 8mm screws, but don’t adjust the valvetrain yet. Secure the rocker cover using six 7mm screws.
- Attach the camshaft using two 5mm screws, and attach the camshaft gear using one 10mm screw.
- Put on the timing belt, then attach the timing cover using six 6mm screws.
- Attach the water pump using five 7mm screws, then the water pump pulley using four 7mm screws.
- Attach the crankshaft pulley last using one 11mm screw
- Attach the alternator using a 7mm screw on top, and one size 10 nut at the bottom. Attach the fan belt afterward. Next, grab the screwdriver from the tool box, then use it to adjust the alternator so that it touches the fan belt. Tighten the screw after.
- Attach the engine plate, followed by the starter using two 7mm screws. Attach the flywheel using six 7mm screws after.
- Put the clutch pressure plate into the clutch cover plate, then the clutch disc into the clutch pressure plate. Afterwards, attach the assembly to the engine using six 6mm screws.
- Attach the oilpan using eight 7mm screws and one 13mm screw. Next, attach the gearbox using six 7mm screws (and one 10mm screw). Attach the drive gear last using seven 6mm screws.
- Use a spark plug wrench to tighten the spark plugs. Attach the fuel pump using two 7mm screws, then attach the distributor using a 6mm screw after that.
Building a running car
Now that you’re done with the engine, let’s proceed to the next important step: installing it into your car, and making it run.
Installing the Engine
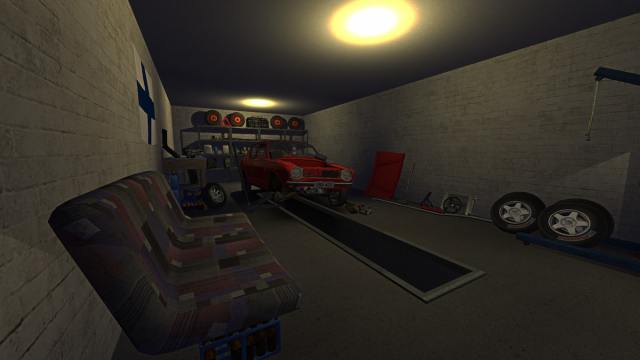
Go to your car, which you left outside, and push it into your garage. Once it’s there, use the hoist to lift your engine. Make sure that the engine is securely attached to the hoist so that it won’t fall, then move the hoist to position the engine over the car.
Three 11mm bolts will appear once the engine is positioned correctly: two on the front side and one at the rear. Unscrew the engine from the hoist, then remove the hoist so you can start working on the next steps.
Now that your engine is installed, you need to work on the following parts to get your car running. The process is a bit tedious, but doing it properly will result in a working car.
- Get the battery you charged at the start of the process, and position it beside the engine. Then, attach the electrics to the engine compartment using 8mm screws
- First, Use an 8mm screw to attach the fuel strainer. Next, attach the radiator using four 7mm screws, then attach radiator hose 1.
- Connect the radiator hose to the engine block, then attach radiator hose 3. Lastly, use your hand to tighten the oil filter.
- Position the clutch master cylinder and the brake master cylinder between the engine and the frame of the car. To secure, use two 8mm screws (x2) on the engine side and one 9mm screw for each on the cabin side.
- Attach the clutch lining using two 7mm screws, and the brake lining using eight 7mm screws. Then use 7mm screws to tighten the nuts for each attached wheel.
- Attach the fuel tank using seven 11mm screws. You will also need to attach one 12mm nut to prevent your fuel from leaking. Lastly, use three 9mm screws to tighten the halfshafts to the engine.
- First, attach the gear linkage using 5mm screws at the top and bottom, then attach the gear stick using six 6mm screws.
- Attach the handbrake next using four 8mm screws. Tighten the 5mm bolt located near the fuel tank last.
- Attach the exhaust pipe using two 7mm screws on the engine side, and one 7mm screw on the back side.
- Finally, attach the exhaust muffler next using a 7mm screw the fuel tank pipe last.
Related | What Is the Fastest Car in Brookhaven? – Answered
If you’ve made it this far, congratulations! Your car can probably run by now, but there are still some things that need to be done before you’re actually finished.
Street Legal

Your car should be able to run at this point, but it’s not ready to be taken to the streets yet. You need to work on the following before it can be roadworthy:
- Attach the dashboard to your car. Select from either an RPM gauge or clock gauge, and fasten it into the meter display using screws. Insert the radio into the dashboard.
- Attach rear seats using 9mm screws. Next, choose from either a normal back panel or a subwoofer panel, then insert it. Lastly, attach the front seats—the driver’s seat and the passenger seat—using screws.
- Lastly, attach the steering wheel to the steering column.
At this point, you’ll be able to drive the car comfortably. However, it still is not ready for the road—both legally and practically. You’ll need to work on your Headlights, Grille, Hood, and Air Filter.
Insert headlights into your car’s front bumper and fasten them using 7mm screws. Attach the grille to the bumper as well and secure using 6mm screws. Place the hood on top of the front of your car, but don’t tighten it yet. Use the hood lock to keep it open, then tighten the hood using screws. Attach the air filter afterwards.
Next, you’ll need to work on the Doors, Fenders, and Bootlid. Attach all doors using 10mm screws, and all fenders using 5mm screws. You should then place the bootlid on the trunk and fasten it using 6mm screws.
Lastly, attach the front and rear bumpers of your car, then attach the rear lights as well.
Final touches
Now that you’ve made a running car, all you need to do are the final touches to make sure it runs properly and without a problem on the streets. Don’t make the mistake of ignoring these, though, as these are essential to a good ride:
- Motor oil: Open the rocker cover’s cap to pour motor oil in as needed.
- Radiator coolant: Remove the radiator cap and pour coolant in. Make sure to check if the bottle still has content for a later time.
- Brake fluid: Open one of the brake master cylinder caps to pour in brake fluid, then close when done. Repeat the process for the other brake master cylinder cap.
- Clutch fluid: Open the clutch master cylinder cap to pour in clutch fluid.
- Gas: Open your jerrycan so you can put gas in your car’s gas tank.
After making sure that your car has the necessary fluids, you’ll need to make sure that your whiles are properly aligned so you can drive properly. To do that, you have to adjust the 14mm nut on the inside of each wheel. Turn the nut until the wheel stops rotating, then turn the nut in the opposite direction 60 times.
FInally, pick and choose from the glossy and matte paints available, and use it on your car. It won’t affect its performance but its fun to customize!
Starting the engine
By now you’re probably roaring to take your car out for a spin. Don’t worry—that’s what you’ll be doing. To start your car, you need to open the hood, then get inside the vehicle and pull out the choke to heat up the engine and make it more conducive to start. You’ll then need to hold on to the ignition and the gas to start the car.
If the fan belt squeaks as you start the car, you need to adjust it. Go out of the car and loosen the bolt without unscrewing it completely. Loosen the alternator until you hear squeaking sounds, then tighten it once to stop the squeak. Tighten the bolt you loosened earlier and close the hood.
Road test and Registration
If your car starts, then that means you are closer to taking it out with you for a spin. Remember the choke you pulled earlier? You should push it back in once you see the temperature gauge’s arrow in the middle. The car should be in great condition, and breakdowns and issues should not happen as you drive your car.
Keep in mind that this driving simulator features permadeath, so make sure to drive slowly until you get the feel of your own car. You wouldn’t want to end up dying in an accident just after you succeeded in bringing what could’ve been a pile of junk to life.
After driving your car and finding nothing wrong with it, have it inspected and register your plates once you pass. You’ll spend 325mk for the inspection, but it’s worth it.


Published: Feb 13, 2023 04:14 am