
In GoldenEye 007 Mission 1: Arkangelsk, a Russian chemical weapons facility has been uncovered underground in the Russian city of Arkangelsk, and James Bond, the world’s greatest secret agent, has been assigned to infiltrate it. You are responsible for investigating the facility for evidence of illegal activities and for disabling any weapons of mass destruction that may be stored there. While navigating this dangerous environment, you will have to face countless enemies. Here’s how to beat the very first mission in the game.
Mission 1: Arkangelsk GoldenEye 007 complete walkthrough
Part 1: Dam
It is believed that the Soviet Union holds top-secret weapons facilities in this mountainous, remote region of Russia. The development of lethal chemical weapons has been attributed to a Russian general named Arkady Ourumov. As part of their mandate, MI6 agents 007 and 006 are supposed to enter and destroy this facility, destroy the weapons production, and eliminate General Ourumov.
Key Objectives
- Covert modem installation (00 Agent) [difficult]
- Recover data from backups (00 Agent)[difficult]
- Jump from the platform using a bungee cord (00 Agent)
Weapons and Gadgets
- Silenced PP7
- Assault rifle (Soviet KF7)
- Rifle (Sniper)
- Covert modem
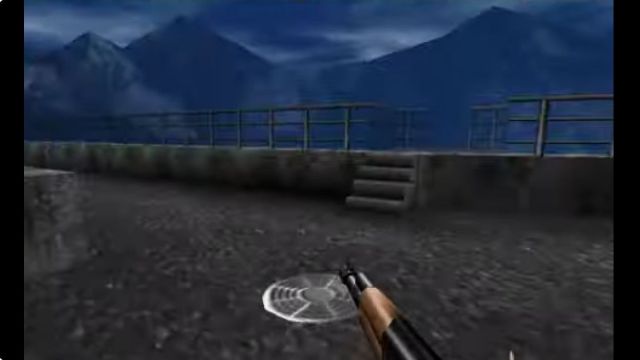
An attack by a single agent is much more likely to succeed than a full-scale military attack around the dam. Getting down the dam face will be the fastest way to access the weapons factory. The dam’s secret ops room is equipped with a computer system that stores shipping and contact information. We can intercept data when a backup is performed by this covert modem connected to their satellite link. Using the bungee rope will help you get down the dam. The piston gun needs to be used at the bottom of the jump.
Related | How to Save Natalya in Statue Park – Goldeneye 007 Mission Guide
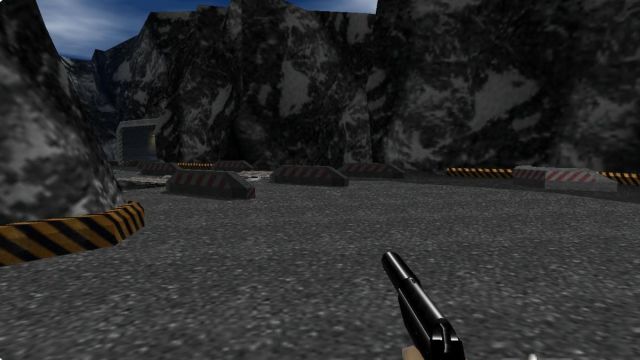
Dam Walkthrough
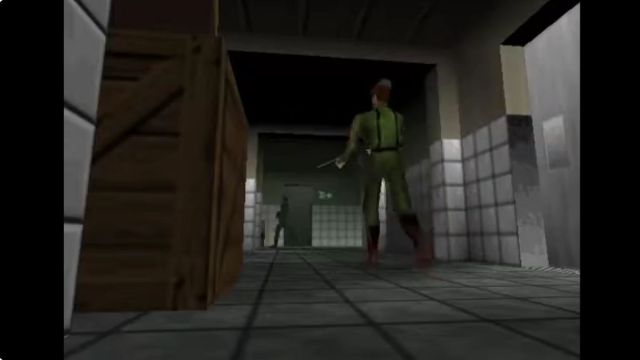
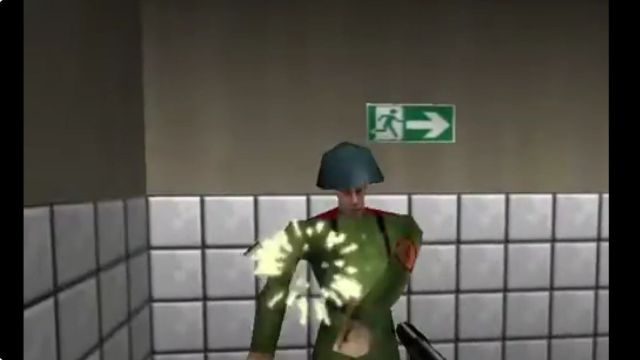
You will be using the silenced PP7 by default for this stage. Immediately to the left of the corner you first encounter, stands one soldier. With a simple headshot, you can get rid of him.
Cross the bridge and across the striped white-and-red line-marked concrete wall with his KF7 Soviet. You will be invisible to the guards from here. Take out the armed personnel near the border by the head as soon as possible.
The guard tower will emerge from behind another guard after a few moments. If you shoot him in the head with one shot, he will not be able to spot you. To reach the top of the guard tower, climb up the stairs on the left side. You can find a rifle (sniper) in the middle of a glass-enclosed room here. It is simply a matter of shooting the glass enclosure and picking it up.
You can see the tunnel below by looking through the railing. Zoom into the tunnel with your rifle (sniper). Two guards guard each tunnel side. Two simple headshots will do the trick.
Run into the tunnel after going down the guard tower. As you approach the corner, the tunnel will turn right. We recommend stopping prior to turning the corner. In the distance, you will see a number of boxes. Proceed cautiously until you reach them.
Behind them, you should see one guard. Put a sniper rifle to his head and eliminate him.
Follow the path carefully until you reach what appears to be a bunker that has a hole in the wall. The heads of two guards can be seen if you zoom in through the opening. Here are another couple of simple headshots.
Continue walking around the tunnel until you reach the left side. The guard tower should be visible directly ahead from here. Take a closer look at the target with your gun (sniper rifle). If you fail to see the guard in the guard tower immediately, be patient and kill him when he eventually appears. He patrols until he reaches the top of the tower.
The gray boxes are behind you when you reach the end of the tunnel. The guard’s arm will poke out of the boxes as you proceed along the boxes. Take out the guard by shooting him until he dies and grab all the ammunition from the guards that you have killed prior to climbing the tower.
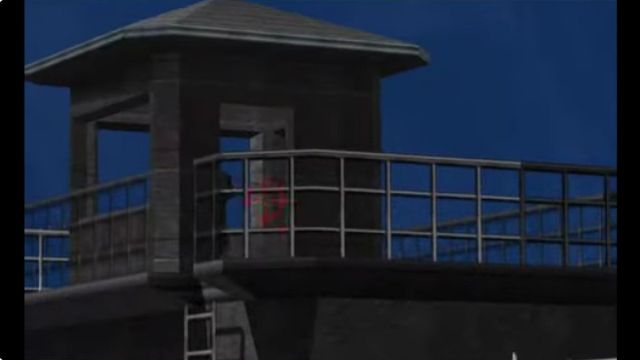
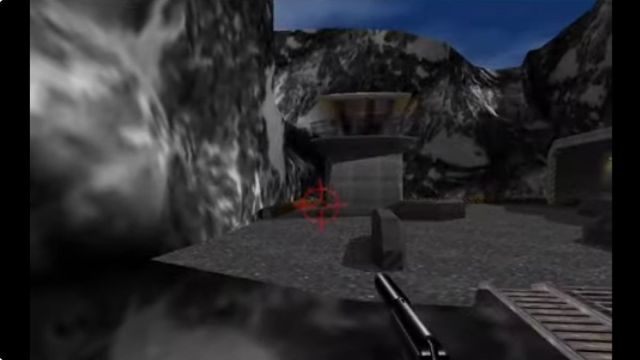
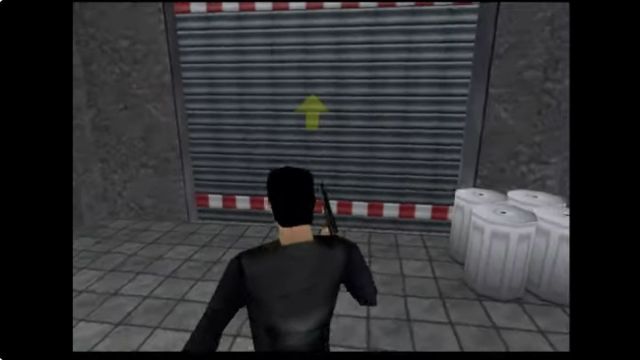
In the distance, there is a guard tower that should be visible in the distance. Take out the guard inside quickly. It would be best if you moved right after entering the brown gate once you have left the guard tower. The gate can be opened by activating the switch located on the wall. Similar steps should be taken to open the gate you see next.
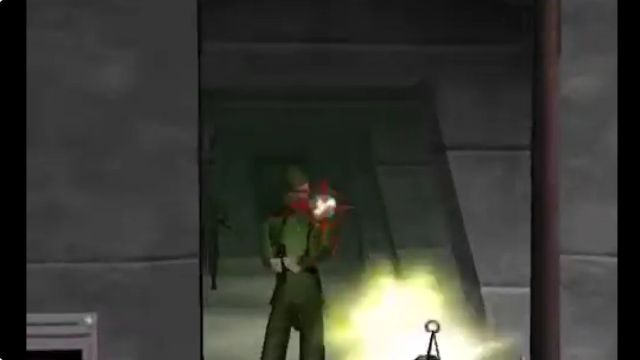
Immediately after the entrance opens, run towards the alarm and dispatch the guard on your left. You should proceed toward the building the guard was heading. A red circle appears by the wall as a white rectangle. Blow it up.
Check out the window to the left and deal with the guard there. Upon entering the building, kill the guard inside to the right as quickly as possible. You should see a computer screen behind the boxes at the rear of the building. Move outside and through the boxes until you reach them. Using the “Z” button, fit the covert modem on the screen, aim at it, and plant it there. congrats, we have completed Objective B.
After shooting the lock at the following gate, go forward. When you reach the halfway point of tower one and use a gun (sniper rifle) and take out the guard who is patrolling. Ascend the ladder in the tower to reach the top. Using the sniper rifle, fix your gaze on the remaining two towers and shoot the guards patrolling them. As you descend, deactivate the wall alarm.
Before returning to the first tower, repeat the process twice more. Once Objective A has been accomplished, proceed down the stairs and enter the tower through the door.
It takes a few headshots to kill a guard down here, so take caution. Looking through the gate underneath the stairs is the best way to get to the top. A guard should be positioned to the left, and he should be killed with a few headshots. It is likely that one guard will run toward you, so look out for him and shoot him.
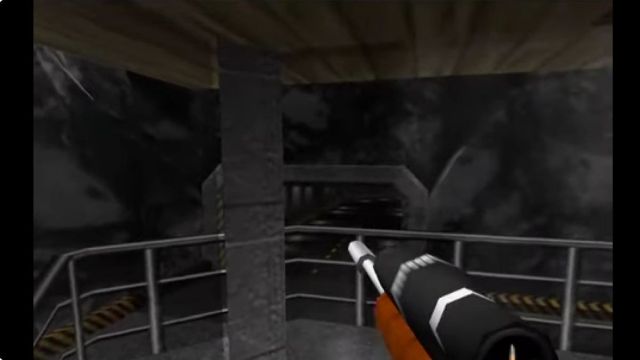
Once you have passed the gate, make your way to the end of the hallway. Leave the tunnel and exit along the left side, hiding a few feet behind the right side short wall. The guard ahead of you can be killed using your gun (sniper rifle).
As you walk forward, watch out for guards hiding behind boxes. Use sniper rifles to eliminate the guards after blowing up the boxes. You will find a small opening on the tunnel’s left side.
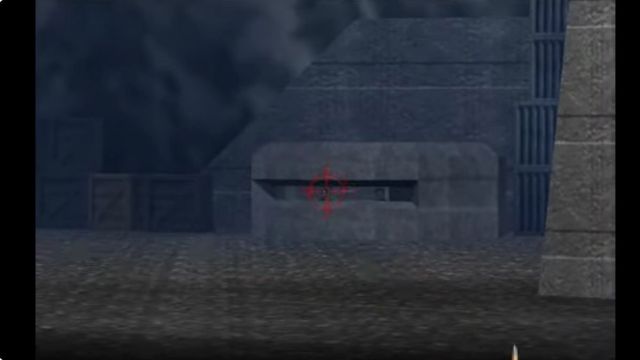
It is likely that a guard is lying in wait by the corner. Quickly shoot him and eliminate him. Your sniper rifle will help you take down the next few guards hiding behind the right wall. Ending the tunnel at the wall at the end should be your destination. There is an actual door hidden behind this wall. Make sure you have the Soviet KF7 equipped.
When the guards start running out, unlock the door, fire some shots at them, and take them out easily. Take a look at the large boxes in the room. In order to gain access to the data, you must block the mainframe computers. The screen should display a countdown when you press B near these. We have completed Objective C.
Then go back up tower one, the way you came. Take a left turn when you reach the second tower. Look for an area with a set of steps. Jump off these steps after climbing them. Your mission outro should be triggered by this.
Part 2: Facility
It is important to place demolition charges on the main gas tanks of the chemical weapons facility as soon as possible after entering the facility. Collateral damage needs to be minimized on this mission due to political considerations. There should be no consideration for non-military personnel.
Key Objectives
- Enter the laboratory (00 Agent)
- Contact the double agent (Secret Agent)
- Meeting with 006 (00 Agent)
- Destroy the tanks in the bottling room (00 Agent)
- Reduce scientist casualties (00 Agent)
Weapons and Gadgets
- Silenced PP7
- Assault rifle (KF7 Soviet)
- An electronic door lock decoder
- The keys
- Bombs (Mines)
- Activator for the mins
- Bombs (Grenades)
Your rendezvous point will be the bottling room, where you will work with 006 on this assignment. Inform our double agent scientist that you are leaving so that he can exit. The final security door will be decoded by him. Once the last bomb is set, those bombs will be armed. You will burn up as well if you are too close when you set them off.
Facility Walkthrough
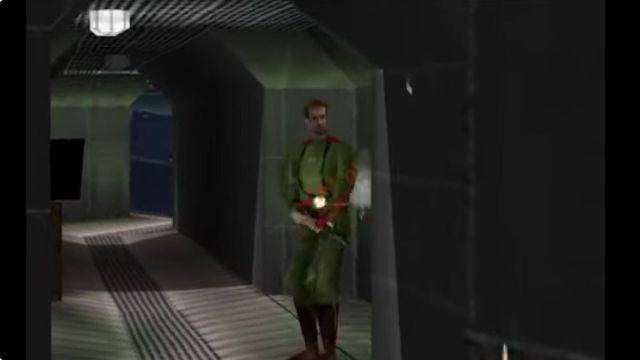
You can see a sergeant’s head towards the bathrooms at the bottom of the air shaft. This is a good place from which to shoot him. A total of three soldiers are present here. Two need stalls opened. By bombarding the enemy with your silenced PP7, you will attract other soldiers to the bathroom.
You should step out of the bathroom, but you should not go downstairs. If you open the door, one guy can be found down the stairs on that floor. Once you have killed him, you can access the door nearest his position. You will be behind a guard with Keycard B as soon as you enter, turn left, and you will gain access to a secure room.
By pressing B, you will activate the security door across from the stairs. Your PP7 should now be switched to your assault rifle (KF7 Soviet) since three guards are there. Ensure that the computer does not blow up. There will be a timed security door that will be opened with this keycard to the left of the hall. It is time to hurry because there is one more door to clear.
You should now exit the room, turn left, walk down the hall, grab the armor on the left, run a few steps, turn to the left, and open the door. Continue straight, passing through the door, and then halt. You will find that the locker room to your left has two guards. A group of soldiers with rifles await behind the next door. Let them in by opening it, stepping back to the side, and waiting as they enter.
If you visit rooms left and right, you will receive a door decoder from double agent scientist Dr. Doak. Usually, he is near the bottling facilities upstairs, but that is not always the case (he has pale brown hair and he moves slowly). The next door will be on the left after leaving those two bottling rooms. A room with two safety switches is in front of you, with hallways on both sides. Grab your PP7 and kill the security guards on either side of you. Once you have entered, walk in the direction of the room.
Change to your assault rifle (KF7 Soviet) to fight four guards, but do not throw mines. They will come in handy later!
The guards can be picked off to either side. There is a very good chance that others will swarm as well. Now that the stray guards have been dusted off, open the door and hit the console located on the right, press the B key, and run before they close. Make sure your KF7 is loaded and then blast off the guards with your KF7 if you want to get through.
You can find Dr. Doak in the bottling rooms one by one once you get past the security gate. Once you have climbed the stairs, wipe off a couple of guards before entering each room individually. While walking around, he may even approach you if he is close by. Getting a decoder key is the next step. Ask him for it, then wait for it to be given to you, then prepare to run. Make sure your KF7 is prepared to go. Continually run towards the only hallway in the building. You should be free for seconds after killing three guys.

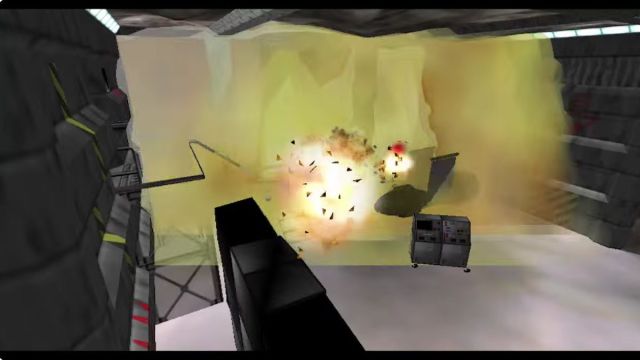
The decoding device is now available for use. There are two doors on either side of you. In the right-hand corner is your door. It works simply by simply approaching it; in average and difficult mode, you will have to wait for the GoldenEye key to appear before you can move on to the next step. You can now switch your ammunition to the mines once you have finished it. 006 must be approached so that discussion can start, and when it does, place one mine on each vat. Your escape route is the opposite side of the room from where you descended the stairs.
We only need to do two things now. Ensure 006 is about five to ten feet away from the tanks (to prevent him from dying when they are blown up). Secondly, blow up each vat individually. You can walk out the door as soon as they are toast. Watching what happens will result in guards coming in abundance and gas flooding the room. You have accomplished your mission if you survive.
Part 3: Runway
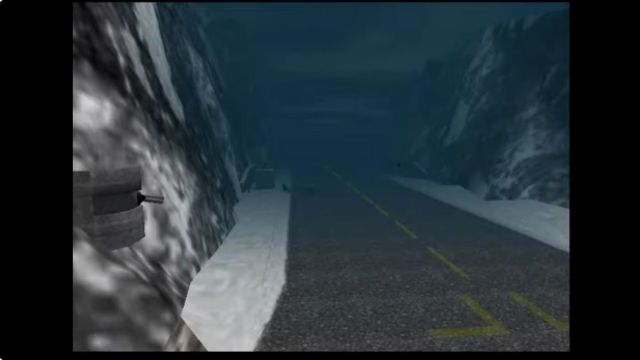
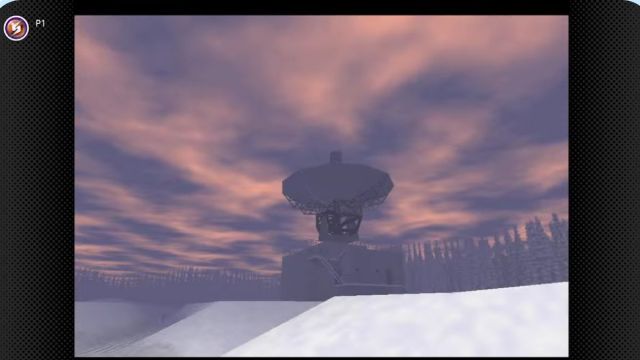
Chemical weapons facility Arkangelsk has a service runway for escape.
Key Objectives
- Locate the plane’s ignition key (00 Agent)
- Dismantle heavy gun emplacements (00 Agent)
- Take out the missile battery (Secret Agent)
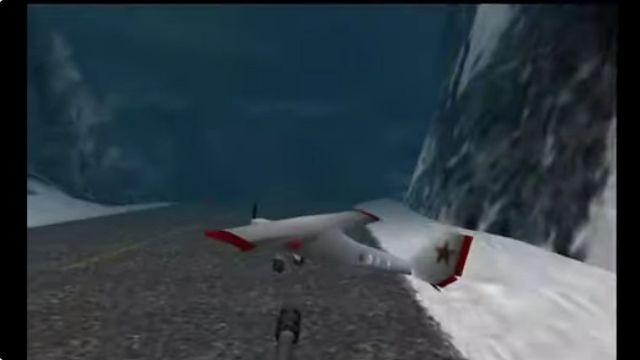
- Fly out of the plane (00 Agent) [difficult]
Weapons and Gadgets
- Silenced PP7
- Assault rifle (KF7 Soviet)
- Bombs (Timed Mines)
- Detonators
- Bombs (Grenades)
- Klobb
- Plane’s ignition key
Runway Walkthrough
It is important to note that the strategy includes tanks, which has been mentioned in the early version. In 00 Agent, the task is made easier with the help of this tool. The best time to use it was after we acquired it from the bunker. It is suggested that you get inside the tank first and eliminate the automatic weapons, followed by killing off men.
You can see grenades in the immediate vicinity. Make sure you pick up the box. Across the hall is a guard. Grab the mine crate from him after killing him. Slide down from the end of the hallway on the left. Make sure the guard dies so that you are able to grab his assault rifle (KF7 Soviet).
Related | How to Fix GoldenEye 007 Controller Issues on Switch
Keys for planes can be obtained by walking left and entering the shed. A few steps away from the door are more grenades to be collected. The plane key is guarded by two guards after entering. Pick up the item after killing them and walking toward the table.
Walk out of the shed, to reach the left side of the runway. You’ll see a soldier guarding something that’s surrounded by barrels. When you reach a nook in the wall, you will need to hit several guards who are literally lining up.
Put your ammo into landmine for a few seconds, and then take cover here. The missile battery closest to you should be your focus here, not the soldier or soldiers across from you in the distance. Rather than retrench into the crevice you were hiding in, you should throw a few mines at the machine gun battery. It will take a little while for them to remove the gun as well as the guard.
After this, return inside. A single guard stands at the end of the field. Take a closer look at him and eliminate him. You should encounter about three to four soldiers by this time. After killing the nearest soldiers, retreat and wait for the rest. We will have more arriving soon.
Waves one and two can be dusted off, and their guns can be grabbed. Klobb will be handed to you, and you should start using it immediately. Remember that you will never be able to escape the guards if you remain inside that nook. It will eventually become necessary for you to stop killing them at some point so you can reach the missile battery closest to the plane across the runway.
Run after you have eliminated them all. Strafing and running at the same time are the best ways to run. It is effective. Two guards need to be dispatched to the battery for security. It would be best if you switched to your mine now.
Batteries themselves should be mined, not the structure they are attached to. In the medium level, run to the plane and touch it, as you are being nicked by another machine gun battery in a distance. It would be best if you blew them up on the difficult mode.
Keep it from getting to the mines, but stay quick and keep it away. Using mines would be even better. You should be able to blow off the second battery when you reach the plane. This should mean that you’ve completed the mission.
What is GoldenEye 007?
Throughout its history, GoldenEye 007 has revolutionized the gaming industry. Published by Nintendo and developed by Rare, it was released for the Nintendo 64 in 1995. Featuring innovative graphics, intense multiplayer mode, and an engaging storyline based on James Bond’s film of the same name, this beloved first-person shooter set a new standard for adventure games. Even today, GoldenEye 007 remains one of the most influential and important video games in history. The game remains an undeniable classic that has influenced generations of gamers and provided hours of entertainment.


Published: Mar 1, 2023 04:07 am