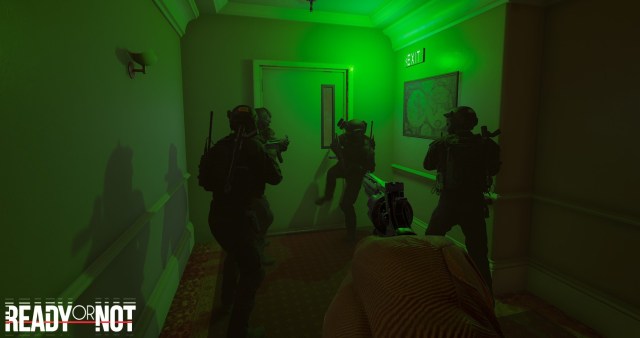
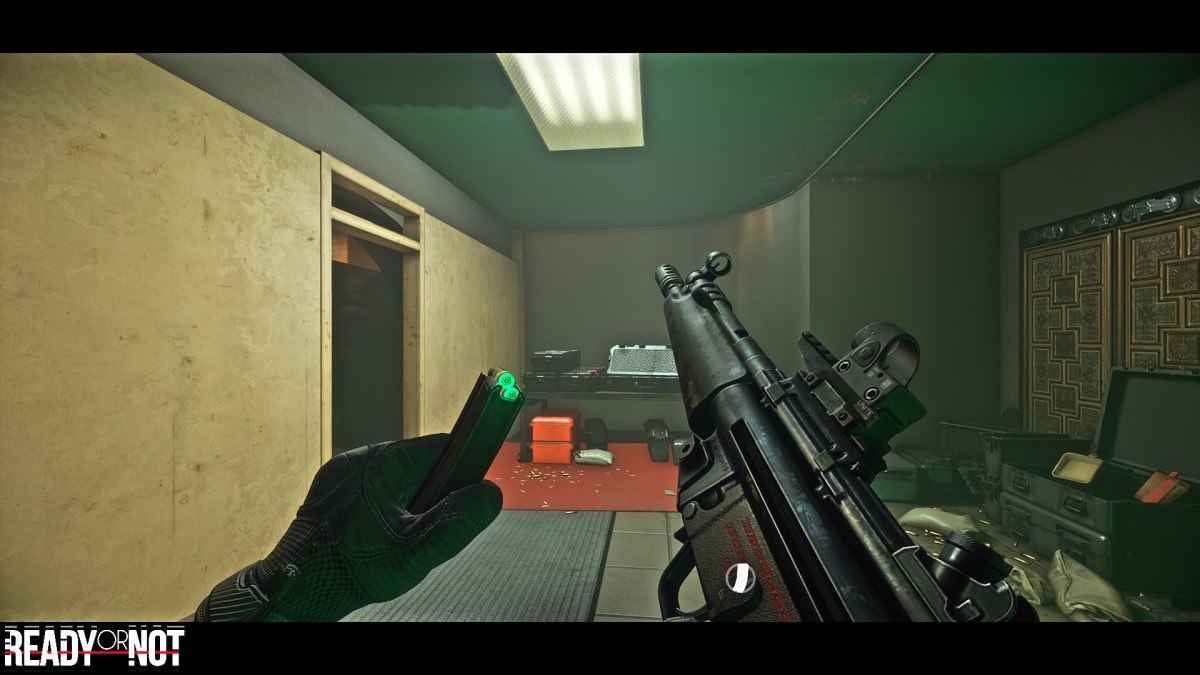
Ready or Not is a very fun shooter. Players will take on the role of special forces and complete a variety of missions. The game has a lot of different equipment, weapons, and characters. You will have to come up with different tactics for each mission, and work in a team with other players or AI. The game also supports mods, including those that allow you to change AI settings in Ready or Not.
AI Mod Settings Guide

Players have already created many different mods for Ready or Not. And some of them can affect the behavior of AI. Perhaps you feel that your enemies are too inanimate, and the reactions of allies are too slow. In this case, use the mod and change the AI the way you want.
Related: Best Co-Op Mobile Games on Android in 2022
We offer you a setting that will make the game more alive. Now the AI will have a normal amount of health, and reaction like a living person. Moreover, your enemies will change positions more often and attack more aggressively. Also, civilians and suspects will start to behave more realistically. So, here is the configuration you need to use:
- [Global]
- ASTimeBetweenTargetingCivilians = 3.0
- ASTimeBeforeTargetingFirstCivilian = 35.0
- BTTimeUntilBombExplodes = 720
- BTMaxBombs = 2
- BTMaxDistanceFromSelectedBombs = 2500.0
- HRMaxDistanceFromSelectedSpawner = 1500.0
- HRMaxRoamers=2
- PolicePresenceDecayTime = 40.0
- SuspectHealth=120.0
- SwatHealth=250.0
- CivilianHealth=80.0
- UnalertedSightRange=3000
- AlertedSightRange=6000
- UnalertedPerceptionHalfAngle=90
- AlertedPerceptionHalfAngle=160
- MaxCivilians=6
- MaxSuspects=20
- MaxRoamers=3
- SuspectAccuracy=5.0
- SuspectDefaultFireRate=1.0
- SuspectRifleFireRate=0.175
- SuspectRifleFireRateDeviation=(X=-0.25,Y=0.5)
- SuspectSMGFireRate=0.1
- SuspectSMGFireRateDeviation=(X=0.0,Y=0.5)
- SuspectPistolFireRate=0.2
- SuspectPistolFireRateDeviation=(X=0.0,Y=2.0)
- SuspectShotgunFireRate=0.5
- SuspectShotgunFireRateDeviation=(X=0.0,Y=0.5)
- SuspectAccuracyLostPerMeter=1.00
- SuspectAccuracyLostPerMeterSecond = 1.3
- SuspectTimeWithWeaponUpBeforeFiring=2.0 ; A value in seconds
- SuspectCoverEvaluationCooldown=10.0
- SuspectTrackLastKnownPositionTime = 30.0
- RequiredTimeSpentOnTarget = 0.3
- SuspectMoraleMediumReload=0.5 ;If morale goes below this use themedium reload speed
- SuspectMoraleLowReload=0.3 ;If morale goes below this use te slow reload speed
- AIStunDuration = 16.0
- BeanbagStunDuration = 3.0
- MinMorale=0.30 ; A value from 0.0 to 1.0
- MaxMorale=1.0 ; A value from 0.0 to 1.0
- KickDoorMorale=0.25
- KillEnemyMorale=-0.75
- GrenadeDetonateMorale=-0.5
- BeanbagShotgunMorale=-0.5
- PepperballMorale=-0.5
- TaserMorale =-1.0
- BashMorale = -0.5
- C2Morale = -0.75
- StunHealth = 100
- GrenadeStunDamage = 100
- BeanbagShotgunStunDamage = 100
- PepperballStunDamage = 25
- TaserStunDamage = 100
- MinFlees=-1
- MaxFlees=2
- MaxTraps=3
- TrapType=Flashbang
- MaxLockedDoorsPercentage = 0.225
- MaxOpenDoorsPercentage = 0.075
- NoExitChanceToSurrender=0.50
- NoExitChanceToFakeSurrender=0.25
- NoExitChanceToGoArmedAndDangerous=0.2
- NoExitTimeToHesitateSuspectArmed=1.0
- NoExitTimeToHesitateSuspectUnarmed=5.0
- NoExitTimeToHesitateUnarmed=10.0
- SuspectChanceToSpawnWithNoWeapon=0.2
- TimeToFireAtDoorAfterKick=5.0
- SwatAccuracy=1.0
- SwatTimeWithWeaponUpBeforeFiring=0.1 ; A value in seconds
- SwatRifleFireRate=0.175
- SwatRifleFireRateDeviation=(X=-0.25,Y=0.5)
- SwatSMGFireRate=0.1
- SwatSMGFireRateDeviation=(X=0.0,Y=0.5)
- SwatPistolFireRate=0.2
- SwatPistolFireRateDeviation=(X=0.0,Y=2.0)
- SwatShotgunFireRate=0.5
- SwatShotgunFireRateDeviation=(X=0.0,Y=0.5)
- SwatLessLethalFireRate=1.0
- SwatLessLethalFireRateDeviation=(X=0.0,Y=0.5)
- SwatAccuracyLostPerMeter=0.0
- SwatCoverEvaluationCooldown=2.0
- SwatTrackLastKnownPositionTime = 5.0
- SwatDoorLockpickDistance=70.0
- SwatDoorKickDistance=50.0
- SwatDoorShotgunDistance=50.0
- SwatDoorC2PlaceDistance=80.0
- SwatDoorTrapDisarmDistance=70.0
- SwatDoorMirrorDistance=70.0
- SwatDoorWedgeDistance=50.0
- SwatDoorOpenDistance=25.0 ; For Open/Close Door command
- MaxDoorInteractionDistance=1000.0 [Lobby_V2]
- NoExitChanceToSurrender=0.0
- NoExitChanceToFakeSurrender=0.0
- NoExitChanceToGoArmedAndDangerous=0.0
- MaxMorale=0.0
- [ron_wb_combat_01a_BarricadedSuspects]
- MinMorale=0.7
- [RoN_Meth_Core_BarricadedSuspects]
- MaxTraps = 0
- [RoN_Dealer_Core_BarricadedSuspects]
- [RoN_Gas_Core_BombThreat]
- [RoN_Gas_Core_ActiveShooter]
- [RoN_Gas_Core_HostageRescue]
- [RoN_Gas_Core_BarricadedSuspects]
- MaxTraps = 0
- [RoN_Gas_Core_Raid]
- [RoN_Port_Core_HostageRescue]
- [RoN_Farm_Core_BarricadedSuspects]
Ready or Not is great fun to play with friends, but the standard AI isn’t very good. Fortunately, you can improve it by changing the settings using the mod. While you are here, take a look at our guide on whether Ready or Not will be available for Android.


Published: Jun 17, 2022 12:57 pm