
This article contains information on Atomic Heart’s testing ground number 11. Just follow our step-by-step directions to effortlessly complete this polygon and collect great rewards. Continue reading to learn more!
What are “Testing Grounds” in Atomic Heart
Training Grounds, often known as “polygons,” are dungeons in Atomic Heart that you may explore. You must first have Facility Map 3826 in order to be able to access these polygons. Following that, you’ll be able to visit and explore these areas for valuable treasure.
How to Unlock Testing Grounds in Atomic Heart

It doesn’t matter which training ground you want to access; you must follow these steps:
- First things first, you need to be close to the location on your map that is outlined in yellow.
- Every camera in the region has a terminal that may be used to access it.
- While attempting to identify terminals, keep in mind that they may very possibly be outside of the region that is yellow-marked.
- You must use the terminal and locate a camera that is pointed at a Training Ground entrance in order to unlock it. Choose the appropriate camera, then click the interaction button to unlock the door.
- Finally, but most importantly, you must open the door. Of course, that’s the simpler part since you already know where it is thanks to the cameras.
How to Complete Testing Grounds 11
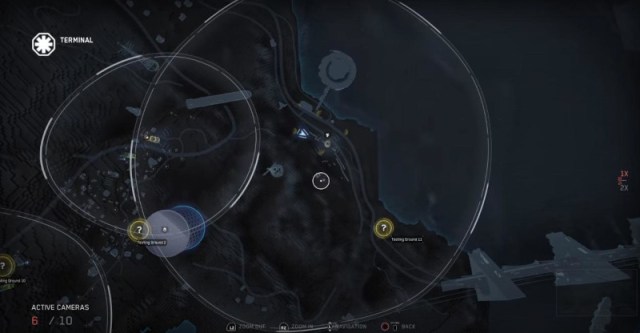
The terminal you need to use to get to Polygon 11 is in a tall tower far north of the yellow zone. Go south down the route after utilizing the camera. Enter the small gray structure.
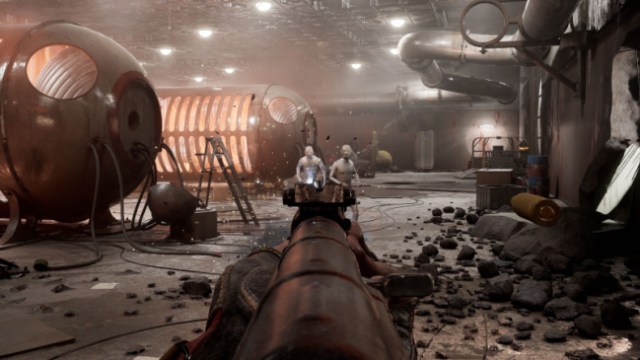
Choose “Vulture Maintenance” from the menu on the terminal. Turn around, and you’ll see a ball descending. Grab the pipe and wait for the orb to rise. Slide down toward the red structure.
Enter the cabin and take the Key Disk off the floor near the dead corpse. To leave this location, crawl over the fence on the north side.
- Get onto the blue platform with a door after setting the first valve to 3.
- The entrance leads to a lengthy platform of blue magnets. Jump on these magnets and Shok the ceiling magnets to raise the platform.
- You should notice a platform with a valve to the left of the entrance you entered. Jump to that platform. Set this valve to 1 on the platform and then go up the blue magnet platform.
- Across the blue magnet platform, enter the yellow chamber, go down and through the door. After entering, climb onto another blue magnet platform on your left. Shok the ceiling magnets to move up.
- Jump into the green room ahead after setting this valve to 1. Using Shok on the ceiling magnets lowers the left green room platform. Use Shok on the ceiling magnets again to climb. After crossing the green room, you’ll find a platform ahead. Jump onto this platform and through the fence breach to access the red chamber.
- While in the red chamber, use Shok to raise the magnet platform. Jump and go through the open door that you’ll see on the wall. Go down on the other side and keep moving until you find the first chest (Bronze).
- Before you begin the task, clear the monsters in the following chamber. Move the flares from the box through the pipes and into the boiler using telekinesis.
- Climb to the roof of the first home close to the entrance. Cross the platform and then go inside the hole in the second house’s roof.
- Remove the enemies and take a flare from the box. Insert it into the pipe. To move the flare, use telekinesis. Unlock the front door and continue to transfer the flare to the left boiler until it begins to heat up.
- Go through the large door and keep moving until you find the second chest (Silver).
- Move into the smaller room to your riight. Underneath the room you will find a candle on the wall. Use telekinesis to take it.
- Go back to the first room. Run forward and throw the candle into one of the free slots (over the fence). If you are successful, the rooms will start rotating slower.
- You should now be able to move across the rooms and dash through the door.
- Keep moving along the path until you find the third and final chest (gold).
That’s all we have on how to complete Testing Ground 11 in Atomic Heart. If you are enjoying this game, you might want to check out some other related posts that we have, such as:


Published: Mar 4, 2023 06:12 am