
One of the trickier missions in the game, it can be easy to get stuck on the fifth mission in GoldenEye 007 without a good strategy set in place. Although the enemies respond slowly, they increase in number as you go through this mission, and the enhanced map, along with the objectives to complete, isn’t exactly a piece of cake to accomplish. With this mission guide, we’ll tell you all you need to know on how to beat Mission 5: Severnaya in GoldenEye 007.
What are the objectives in Part 1 of Mission 5 in GoldenEye 007?
There are four primary objectives in Part 1: Surface of Mission 5: Severnaya:
- Disrupt all surveillance equipment
- Break communications link to bunker
- Disable Spetznaz support aircraft
- Gain entry to the bunker
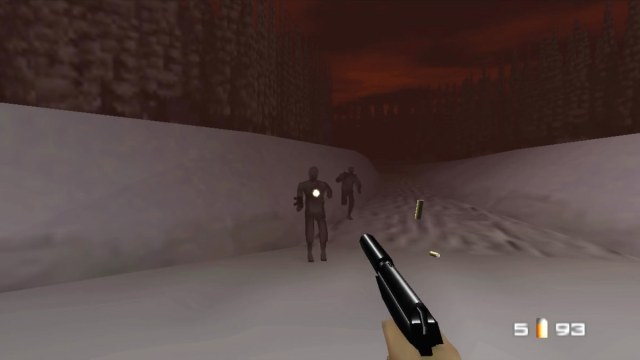
In Mission 5, you are dropped off in a similar location as the one on Mission 4. What makes things different this time is that it’s at night time. When the mission begins, head down the main road and kill the guards you come across. Remember to take the bounty your enemies drop.
How to complete Part 1 of Mission 5 in GoldenEye 007
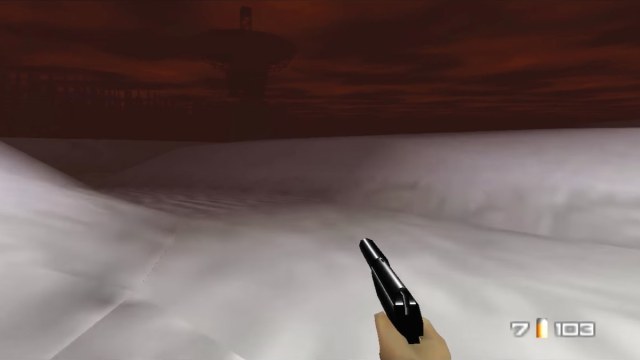
When the road splits into three directions, keep heading straight. Before you reach another three-way path, more guards will come up to you. Quickly eliminate them and keep heading forward. Continue until you see a communications dish in front of you. Once you do, take a right.
Destroy all surveillance cameras
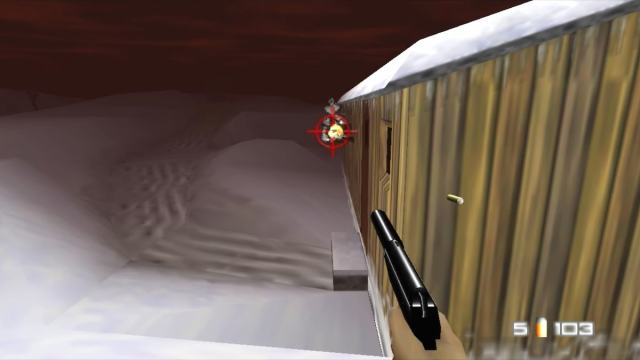
The next time a path opens up to your left, take that road. Look to your right and you’ll see the back of a bungalow house. Go towards the left-hand side of the building. From that vantage point, you can shoot at the surveillance camera to destroy it.
At this point, more guards will come after you. Kill them and head inside the house. Shoot at the military commando inside immediately and he will drop the comms room key that you can take, along with his gun.
Head out of the bunker and take the path to your right. Guards will come running at you to try and stop you. When you’ve taken care of the guards, head straight, then take the path again to your right. Watch your six carefully as there will most likely be guards continuing to hunt you down. Continue to head straight, and when the road splits into two, take a right.
Destroy the communications link
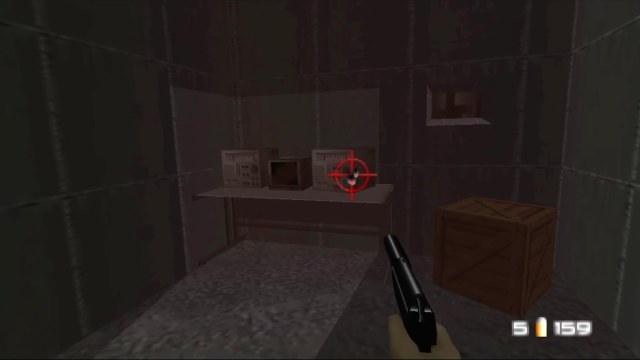
On the next junction, take a left instead. You’ll then see the building with the communications dish. Go inside, take the stairs, and quickly destroy the surveillance camera before you take a left on the path of the stairs.
The path will take you inside a small room. Destroy both communication links. A text will appear on your screen to confirm that the objective to destroy them has been completed. Be quick to eliminate the guards as they will be on to you and follow you in.
Avoid surveillance and stay undetected
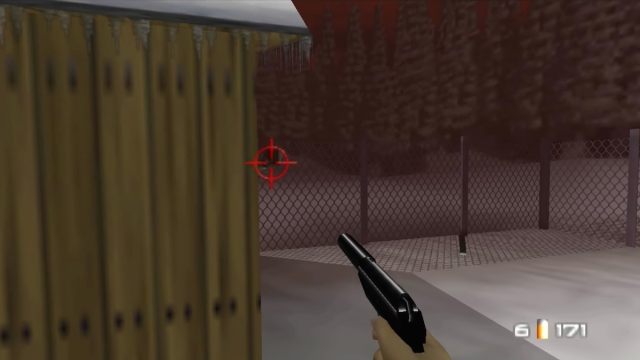
Once done, get out of the building and take the path to your left. Continue down that road until you see a house behind a fence. Destroy the surveillance camera on its right side. Routinely, guards will continue to chase you down so just eliminate them as you go.
Head out of the fenced area and turn left. Stay close to the farthest right, hugging the treeline, to go around the first house and destroy its surveillance camera.
Go back on your path and head straight. Take a left when the path splits into two. Continue forward, passing by a building. You can simply ignore the guards if they’re far enough and you are undetected.
Disable Spetznaz support aircraft and enter the bunker
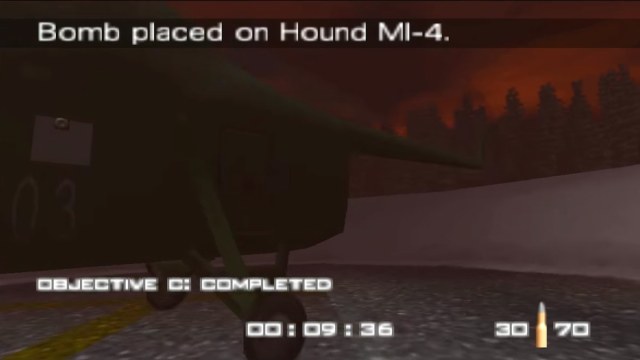
When the path splits, go left, and continue on that path. When you reach a junction again, take a right this time. You’ll then reach a Hound MI-4 helicopter, where you should be placing a bomb. Keep a watchful eye on the pesky guards until a text appears that confirms it has been destroyed. You can then enter the bunker facing the helicopter to finish this part.
Related | How to Copy GoldenEye Key in Bunker 1 Mission – Guide
What are the objectives in Part 2 of Mission 5 in GoldenEye 007?
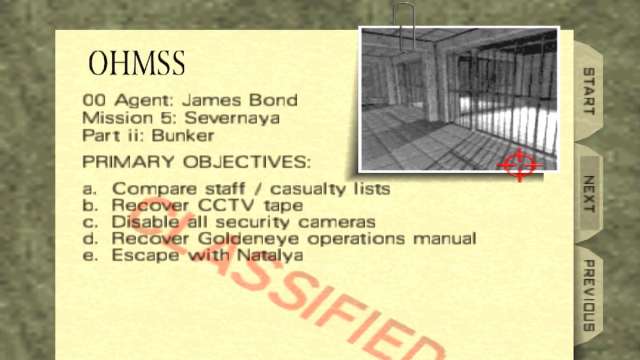
There are five primary objectives in ‘Part 2: Bunker’ of ‘Mission 5: Severnaya’:
- Compare staff/casualty lists
- Recover CCTV tape
- Disable all security cameras
- Recover Goldeneye operations manual
- Escape with Natalya
How to complete Part 2 of Mission 5 in GoldenEye 007
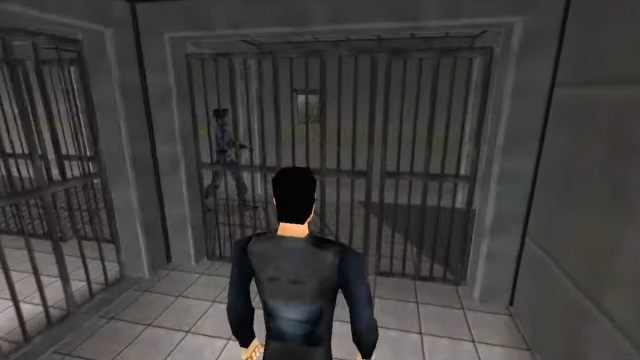
This part starts inside a jail cell. Imprisoned in the cell next to you is Natalya, who says she was jailed as they claimed her to be a traitor. You can approach her to initiate a conversation to know more, or you can simply select your gadget and choose “Watch Magnet Attract” right away.
Right across you on the wall is the cell key. Press Z to get the key and wait until the guard is close by before you press B to open the cell door. Be quick to attack the guard and get the KF7 Soviet that he will drop.
When you get out of your cell, you’ll see a caged platform to your right. You can use your ‘Watch Magnet Attract’ again to pick up a concealed set of throwing knives from there.
How to kill the guards
Outside the area of the jail, several guards roam along the corridors. At this point when you have no other weapons than just knives, your fists, and a loud KF7 Soviet, we recommend a stealthy approach to eliminating the guards one by one and completing your objectives.
You can do so by using the doors as your shield. Lure the attention of the guards, one by one, after isolating them, as they move around quite a lot. Make them follow you behind a door and close it first. Once they’re right in front of it, open the door and use your fists to eliminate them. This stealthy approach is a bit more tedious but a more guaranteed way to complete this part of the mission right away on your first attempt.
Destroy all security cameras
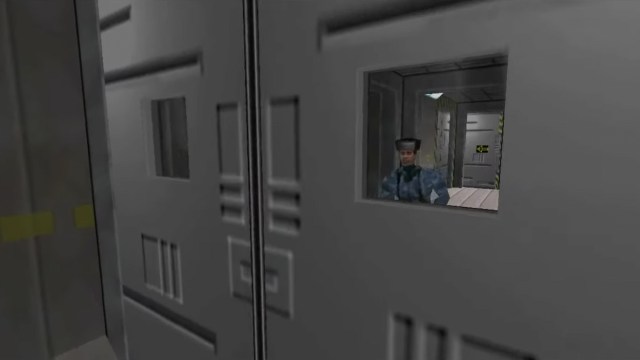
When you’ve killed all the guards that roam the halls, be wary of entering rooms, as they are all guarded. Use the windows on the doors to scout how many guards you need to eliminate, and to first identify the location of any cameras you need to shoot at to remain undetected.
Get the first document
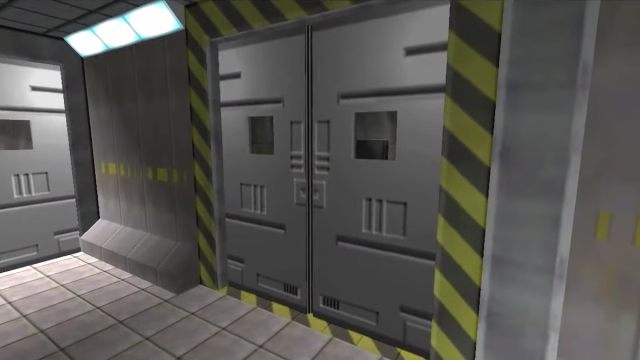
The room with three guards inside and a door with striped yellow and black borders is where you need to grab the document as part of one of your objectives. When you get out of this room, turn right and open the door, and the path splits into two. Sneakily look to your right and shoot at the surveillance camera. A guard will chase you down, so just lure him towards you, go behind a door, and eliminate him as soon as he’s in front of you.
Head towards the area with the security camera you just destroyed, and the computer room will be on your left, with another door and a short hallway in front of it. Before entering, you can shoot at the security camera on the left side through the glass window. You can also kill the guard in this room the same way if you see his head peeking through.
Recover the CCTV tape
This guard drops a safe key, which you can take. Go back to the hallway you came from before going to the computer room. There’s another room on the right side. Make sure to destroy the camera to your right first through the glass window before entering. You should get a good vantage point on it by crouching.
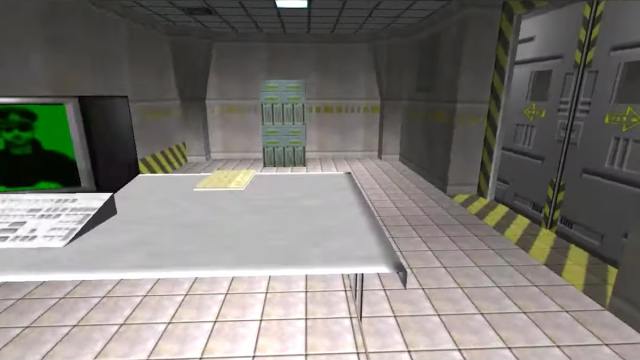
Face your left side and take a right. There’s a room on the right side with a guard. You can quickly enter this room and kill him just by using your fists. Take the CCTV tape on top of the table after, and that’s another objective off your list.
In the same room, there’s a door with a yellow arrow pointing upwards on it. In a swift move, open this door and shoot at the camera at the very top.
Recover the Goldeneye operations manual
Retrace your steps to go back to the hallway where the door to the prison cells is. There’s another room to your left straight ahead of that door, where you need to kill three guards that are inside. Lure the two guards one by one, same as earlier, to eliminate them. When there’s only one left, you can simply go into the room to take him out fast.
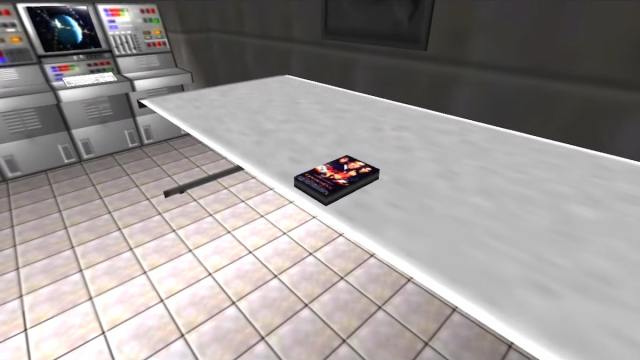
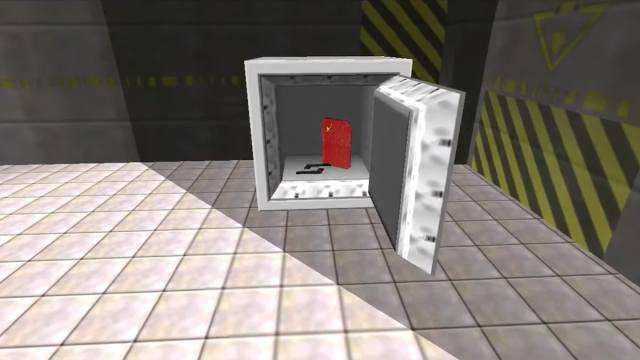
In this room sits a vault where you can use the safe key you obtained earlier to unlock it. Recover the Goldeneye operations manual, which is a red document, along with a pair of silenced PP7 which can come in really handy as you finish this mission.
Destroy all turret guns
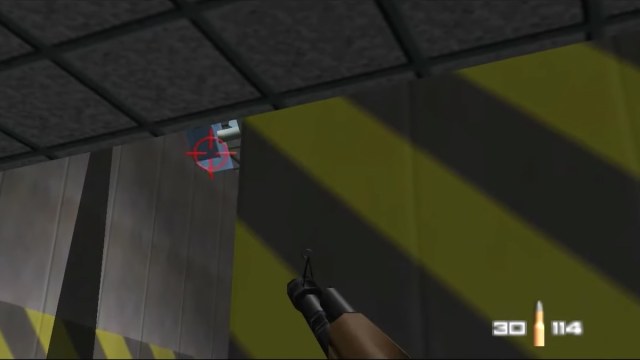
Retrace your steps to go towards the hallway with striped yellow and black walls. Do not turn right away, as there is an automatic turret gun in this area. Barely look to your right, crouch to get a good view, and shoot at it to destroy it.
Continue heading straight. Before you reach the next area, peek behind the wall and you’ll see another turret gun. Shoot at it again to ensure your safe and quiet approach towards the end of this mission.
Slowly enter the area, and there’ll be another turret gun to destroy at the immediate open space to your right. After this, there will be two more guards left to kill on the right side at the end of the hallway. Head forward to exit this section.
Obtain the key card
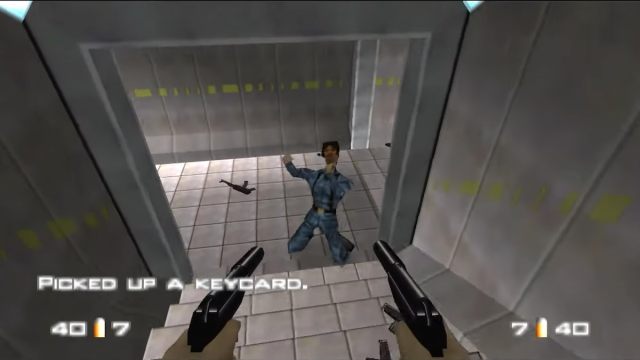
Pass by the two doors and take a right before the path ends. Continue straight until you have to go down a short flight of stairs. Two guards will be on either side. Carefully approach until you can quietly peg one guard, and immediately kill the other one the soonest he is alerted. Another guard will approach, and after eliminating all of them, you’ll notice that one has dropped a key card which you can use later.
On your left, destroy the camera before continuing down the hall. Through the long hallway, turn left and you’ll see another room to your left. You can shoot through the glass window to take down the guard inside. More guards will follow suit, in which case, you can use the door as your shield. With their increased number, though, you have to shoot all of them down much faster.
Get the last document for the objective
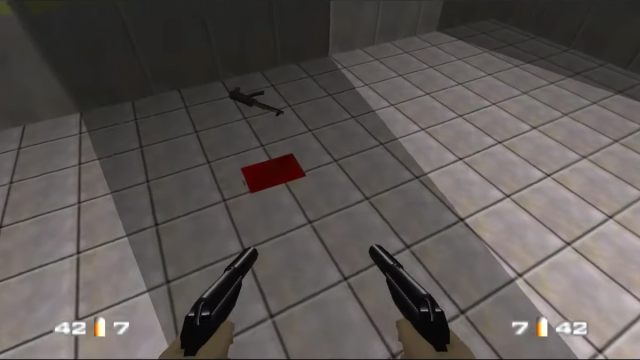
Once they’re all dealt with, go inside the large room. On at least two of the open spaces to your left, there’s another guard on both of them left to eliminate. Head towards the other side of the room to pick up another red document to complete one of the objectives of this mission.
Disable the last security camera

Exit the area, turn left, and go up the short flight of stairs. At the end of the hallway, turn right to approach a new area. Shoot down all four of the guards that you can see from a distance. There are another three on the right side of this area. When they’re all eliminated, shoot at the security camera that you can see at the far end of the area, which is on top of some stairs. At this point, a text appears on your screen to confirm that the objective to disable all security cameras has been completed.
Free Natalya from the prison cell

Now that the entire bunker has been cleared, retrace your steps to return to the area where the prison cell is to free Natalya. Go out of the jail room, turn left, and go up the short flight of stairs. Take a right and open the door in front of you. Then, turn right to return to the control room, which is the area where you just came from, and eliminated the rest of the guards.
The end of Mission 5: Severnaya in Goldeneye 007

Natalya moves very slowly as she follows you, so just be patient until she eventually catches up to you. Then, she checks the control console, only to find out that Ouromov has activated the Goldeneye satellite, and Severnaya will take fire, leaving you with only less than a minute to escape the bunker safely with her.
It’s only a short jog from the control console towards the exit though, so don’t sweat it. This concludes the fifth mission in GoldenEye 007.
This is not the last you’ll see of Natalya, though, as she becomes an integral part of the game’s narrative from here on out. We’ve got another guide for you for when you need to save Natalya again.
You can now play Goldeneye 007 on Nintendo Switch and Xbox, so don’t miss out!


Published: Mar 1, 2023 03:53 am