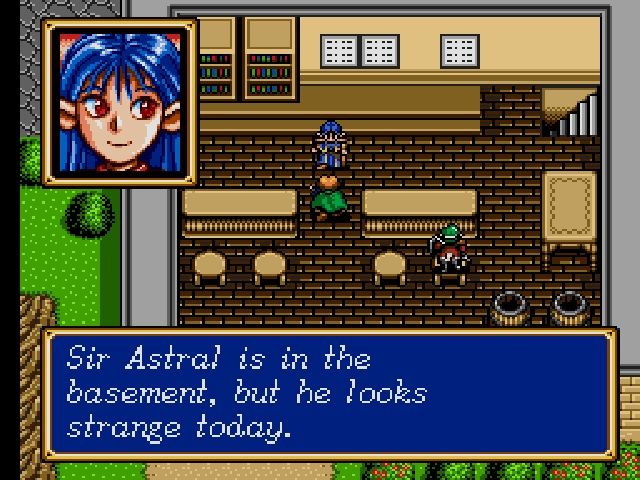
Our Shining Force 2 walkthrough has now reached its eighth section. Of course, this is not the final one, since there are still five more chapters in store for you to read. This guide will walk you through everything you need to know to get to the point when you first encounter Freya, beginning from the moment you return to the Dwarves’ Cave and continuing all the way up to that point.
Recommended Videos
Cave of the Dwarves
- Proceed back to the Cave of the Dwarves. The ailing dwarf will recover thanks to Fairy, and the other dwarves will show their appreciation by presenting Bowie with a cannon that can clear the path to North Paramecia. The one and only catch is that you will need to acquire some explosives. Since you will be traveling to North Paramecia, you should make a stop at New Granseal along the route.
- Proceed to the castle, where you will find Astral and the other characters. Astral is aware that Zeon and Volcanon have left the ground they once inhabited. After that, Peter reveals the news that Elis is still alive.
- The King continues by stating that they are required to vanquish Zeon. Astral has made up his mind to work with the Force in this new capacity as an advisor. Exit the building and speak with the individual standing next to the weapon store about purchasing some dynamite. If you make an attempt to leave town, Elric’s girlfriend, Janet, will appear and insist that she accompany you on your journey.
- Help Janet out by making her a Sniper and getting rid of Elric as soon as possible. In terms of strength and speed, Janet is superior than Elric. Give her the Robin Arrow that Elric has.
First Battle, A Dark Bishop
- You’ll find yourself in the middle of another conflict if you make your way back to the North Cliff. Raise Janet’s current level to 4, but maintain it at 6 for everyone else. To advance in levels, Sarah and Karn need to do healing after every attack.
- A Dark Bishop is equipped with a Blizzard, a useful piece of equipment for use in combat. You may proceed through the level by killing all of the creatures and escaping the area when necessary. Once you get to the cave, Astral will instruct Rhode to clear the way through the cave by blowing it up with the cannon. After doing so, Rhode makes the decision to use the cannon as a weapon while they are engaged in combat. After that, he signs up to become a Brass Gunner. Simply leave him in the Caravan since, despite the fact that he may be powerful, he is also sluggish, and his maximum offensive and defensive velocity is modest.

- You should enter the Cave after giving his Assault Shell to Janet. Immediately after entering, there will be a fight that begins. This battle is identical to the one in the Dark Cave, except it is more difficult. Given that it is impossible to see anything in this area due to the darkness, your only focus should be on making it through the fight. Move through the cave at a leisurely pace until you reach the Dark Soldier. Take care of it to win the fight. As soon as the fight is over, get the Fairy Tear from the chest, then leave the cave and go to the settlement of Ketto, which is nearby.
- Because of the Devils, several businesses in Ketto have gone out of business. Start at the weapon store, which should be vacant, and then make your way to the owner of the business towards the north end of town. He is going to go back to the store. Go back and update your equipment. Purchase the Guardian Staff for Kazin. Attacks, although being less effective, are pointless for spell casters, hence defense is far more crucial.
- In addition to this, locate the Bright Honey and apply it on Sarah. Find the Priest to the left of the church to complete the rescue mission. Take the exit and go east. You will see a Paladin making their way to South Paramecia in an attempt to seek assistance there. But a more powerful demon was able to catch him. Higins, the Paladin, has been overcome by a spirit and fallen unconscious.
Preparing For Battle
- You then engage in combat once Astral has spoken. From this point on, you will begin constructing the levels. This might take some time, but you should get everyone to level 8 or 9 as quickly as possible, but 28-29 for Karna.
- Your aim is the Lizardman; nevertheless, you must not lose sight of the Black Ring that the Dark Bishop is carrying. Take out the Lizardman if you want to win the fight.
- Higgins will be freed from the demon that possesses them thanks to Astral. Higins has requested your company on his trip to Pacalon. After that, he enlists in the armed forces. Avoid wasting your time with Higgins. He is elderly, sluggish, and has a feeble defense. Simply leave him in the caravan and go. With just two notable exceptions, you should expect the majority of the individuals you will encounter from this point on to continue traveling with the Caravan.
To The Fortress
- You may get some money by selling the weapon Higins used. Follow the lake and the dry river to the east until you reach the settlement of Pacalon, which is inhabited by centaurs. Great Sword and Great Shot are the names of the two new weapons that may be obtained in Pacalon. Increase your level to that.
- Proceed to the fortress.
- Before speaking with the King, you should take the Pegasus Wing and the Mithril from this room. He begs to be allowed to go to Tristan and rescue Mitula. Talk to the gentleman who is standing to his left. Hello, my name is Frayja. He discusses the sin that he committed when he abandoned Moun in order to protect Paramecia. After leaving the castle, go to a nearby home and get the Cheerful Bread from a vase inside the house. Leave the town.
This brings an end to section eight of the Shining Force 2 walkthrough! At this point in the adventure, we have almost passed reached the halfway point of our journey. This means that there is yet a great lot more that will go place in the future! Have a look at the following (or the previous) parts of our tutorial!


Published: Nov 30, 2022 12:19 pm