Managing your mods in Minecraft is easy and simple when you install Minecraft Forge. Once it is up and running you will have a place you can manage all your Minecraft mods. There are so many mods that it is good to be able to keep track on what you have and how many are active. Check out our guide below to find out all about Minecraft: how to install Forge 1.19.
Related: Which Version of Minecraft is the Best? Java vs Bedrock Differences Explained
Installing Forge 1.19 in Minecraft
All Minecraft Java users should have Minecraft Forge installed to help with managing their mods. Forge is especially useful when you have a mountain of mods you need to keep track of. Installing something new can be a bit overwhelming sometimes but we have a simple step by step guide to help you through it.
A Step by Step Guide to Install Forge in Minecraft
First you must download Minecraft Forge from their official website. This makes sure you get the latest version and no risk of any dodgy downloads.
- Download the latest version of Minecraft Forge 1.19 below:
- Open the installer you just downloaded. when ‘Install Client’ is highlighted and click OK.
- Open Minecraft Launcher
- Change the profile to Forge
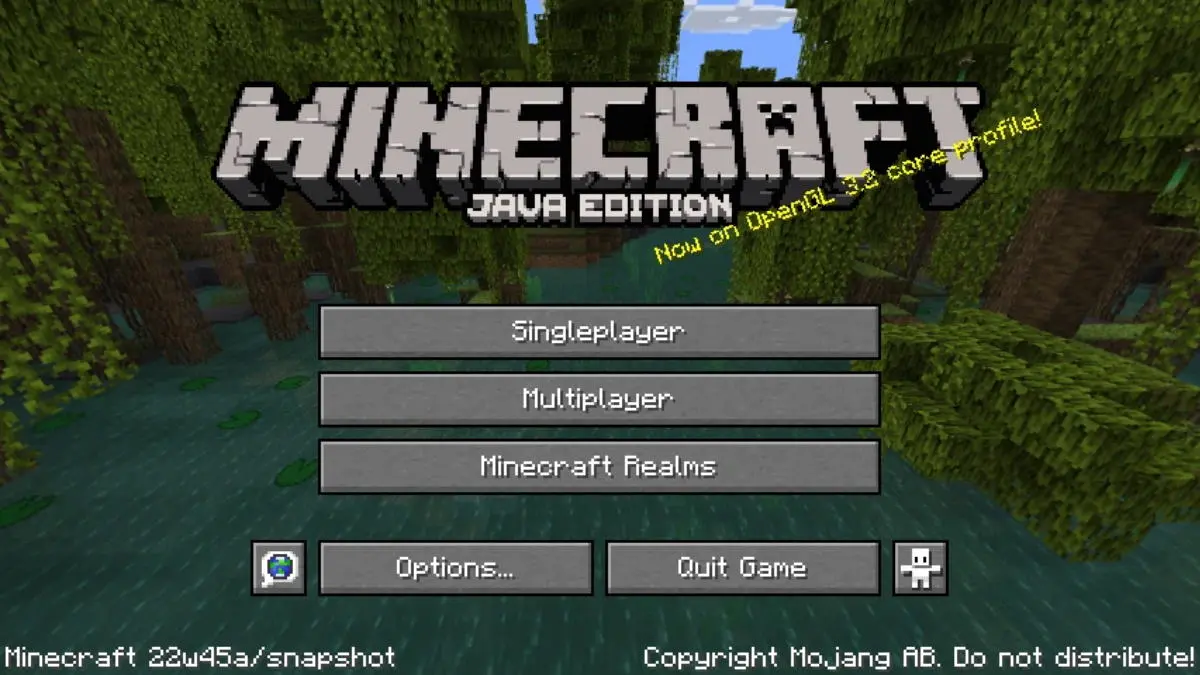
- As the game loads you will see the new mods menu

Related: How to Download Conjuring Mod for Minecraft
Now you have Forge you will be able to add mods, see ones you have installed, and sort your mods. There are so many mods to choose from, and now you can download and experience as many as you like. If you want to see what mods you could choose why not check out some of our mod guides, including floor mats mod, the Atlantis mod, the animal tamer mod, or a Candyland mod!
That is all you need to know about downloading Forge for Minecraft. Next up, why not check out the Minecraft Twilight forest mod? Happy crafting!


Published: Jan 6, 2023 10:04 am