The popular asymmetrical competitive survival game Dead by Daylight has finally found its way to mobile! Dead by Daylight Mobile is a full port of the original game built for mobile platforms. Survive a nightmare with a bloodthirsty killer on the loose as a Survivor, or hunt down and sacrifice survivors as the Killer. Will you survive until daylight?
In our Dead by Daylight tips and tricks guide, we will go over the general basics of surviving as a Survivor. There is a lot to go over here, and we will do our best to outfit you with all of the things you need to know to win your first match as a survivor. Let’s get started with our Dead by Daylight Mobile cheats, tips and tricks strategy guide to winning as a survivor!
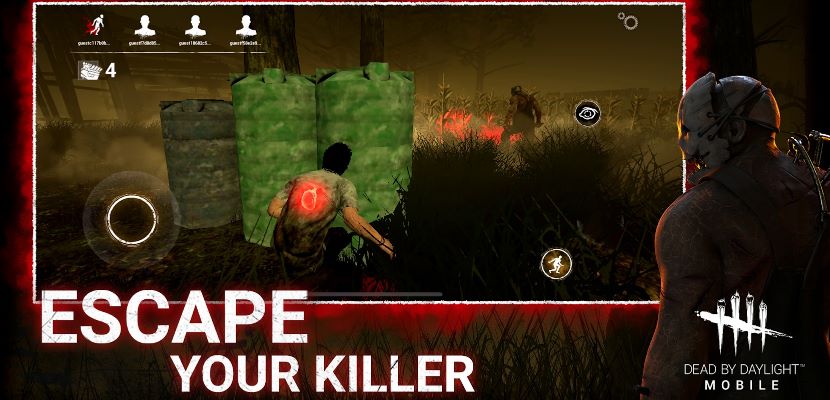
Staying Undetected
Generally you always want to stay crouched so that you do not accidentally start running. One of the easiest ways to give your position away is by running and leaving scratch marks on the ground, so cover up your tracks and move slowly, remaining undetected.
And remember: the killer has a first-person view while you have a third-person view. Because of this, you can actually use the environment to remain hidden. In the dark levels, you can use foliage and shrubbery to conceal your movements.
If you do need to get around faster, make sure not to tilt the virtual joystick all the way. If you tilt it only a little bit, your character will go into a brisk jog, but it is not fast enough to start leaving scratch marks on the ground.
Powering Generators
In Dead by Daylight, your objective as a Survivor is to power on all five generators in order to open the exit gates. Every map has either two or three exit gates on the perimeter of the map, and they will only open once all generators have powered or the escape hatch is closed.
To find the generators, you simply need to wander the map and keep your eyes out. Generators are often hidden near points of interest, like ruined houses, rock formations, and the like. Keep your eyes up – you can tell if a generator is nearby by looking for those distinguishable lights that hang above every generator.
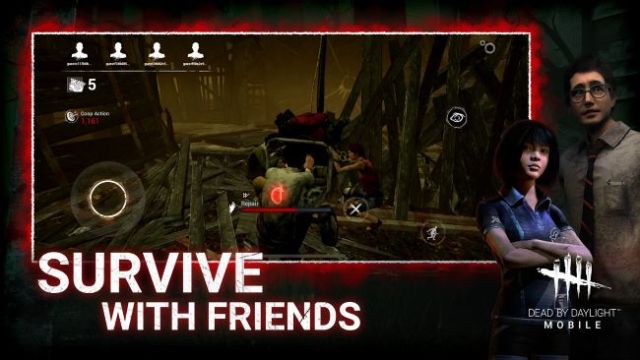
Once you locate a generator, run up to it and interact with it to start repairing it. A progress bar will show up and start filling up – the more survivors repairing a generator, the faster the bar will fill up. The generator will be fully repaired once the bar fills up.
As the bar is filling up, you will occasionally be prompted with a “skill check”. If you hear a loud “ping” kind of noise, a skill check is about to happen, so actively listen for the sound effect. Another way to tell is that a new button will appear at the bottom right corner of the screen.
Skill checks can throw you off if you are not prepared, so be patient and wait for the cue. As soon as you hear the audio cue, the bar should appear a split second later. Wait for the marker to reach the filled in spot, then tap the button to complete the skill check. If you time it just right and land in the white spot, you will perform a Great Skill Check, which rewards you with more points and more repair progress.
If you fail a skill check, the generator will pop and crackle, alerting the killer to your presence. At this point you need to decide whether or not you want to stay and risk danger. Repair progress is halted when you leave a generator, so you can always duck out and come back later, but keep in mind that the killer can damage generators to make them lose repair progress.
In general, it is usually a better idea to split up and have everyone tackle different generators. That way, if the killer does find their way to the generator you are at, the entire team will not be in trouble. When a killer is busy chasing a single character, this allows the rest of the team to continue working on generators.
Hiding from the Killer
When the killer comes within your proximity, the heart icon will appear on your character. Keep a close eye on it but also keep your head on a swivel – you do not want to get ambushed by the killer. The faster the heart beats, the closer the killer is to you.
If the killer is nearby but they have not spotted you yet, stay calm – you might still be able to lose them! Do not start running just yet, as that will give you away. Instead, keep sneaking around quietly and try to get a pinpoint on where the killer is exactly. Once you see them, you can keep tabs on them.
Try to watch their movements and predict where they might go. Sneak to where you think they will not be, and hopefully they will leave your area. If there is a locker nearby, you can take a chance with it and hide in it, but be careful of killers randomly searching any locker they come across!
Another thing to watch for is the red cone that shows up in front of the killer. If you manage to find the killer, you will see a small red cone in front of them – this represents their vision and the direction they are facing, which can be useful for when they are kind of far away from you.
One trick to keep in mind is that this cone can sometimes be seen through walls, depending on how close the killer is to a wall. Keep on the look out for this cone and you can usually tell where the killer is headed next.
One more thing to note is that when the killer is usually their signature ability, a red arc will appear on your screen that points in the direction of the killer when you are nearby. If you still do not know where the killer is, this will definitely help you!
Perks and Items
Every survivor has their own perks available to them as you level them up. Their perks help further enhance the survivor’s playstyle, so when you unlock a new perk you should take a look and see what it does. Perks can be further enhanced as the character levels up as well.
In addition to that, survivors can bring items with them into a match that are consumed once the match is over. These items can be bought from the bloodstore, and they can provide you with invaluable tools. Flashlights can severely hinder killers, medkits can help you heal your friends and yourself faster, and so on.
Flashlights are probably the most useful item as they can be used against killers to disable them in some way. Shining the flashlight in a killer’s face can blind them, rendering them unable to see anything for a few seconds. Not only does it stun killers, but this will also make them drop any survivors they are carrying!
If you do not bring any items with you into a match, be on the lookout for item boxes. These gray chests will sometimes spawn around the map, and opening them will reward you with a random item.
Evading the Killer
If your heart starts beating rapidly and you see speed marks around the corners of your screen, it is time to run – the killer has found you and they are heading in your direction!
At this point, running is your only option, so get up and move into a full sprint. When you are being chased by the killer, your main objective is to keep yourself alive and waste the killer’s time as much as possible. You may not make it out unscathed, but you will at least be doing your team a favor.
The key to evading the killer is to utilize obstacles around the map. Do not just run in a straight line away from the killer, as they will catch up to you eventually. Look for boxes, crates, pallets, ruined houses, anything to help you zigzag around the killer.
Pallets
One of the best ways to deal with the killer is to find a pallet. As the tutorial taught you, you can drop pallets on killers to temporarily stun them and buy yourself some precious time. These pallets are often setup in places where you need to run around obstacles to get to them, and corners are a killer’s worst enemy.
If you are constantly turning corners, killers will have a hard time catching up with you. If you find a pallet with this setup, lure a killer into and start running around it as many times as you can. When the killer starts to get really close, drop the pallet on them and make your great escape! This tactic can easily frustrate killers, and they may give up on you altogether and find new prey.
Windows
The ruined houses found around the maps often have windows in them that can be vaulted over by both the survivors and killers. There is some finesse to this, and it is important to keep in mind when trying to escape the killer.
First off, you will vault over a window much faster if you come at it from a straight angle and with a running start. If you crouch walk to a window or approach it from an awkward angle, your character will take a little longer getting over it. You are NOT invincible during the window climbing animation, so be careful about this.
With some swift window jump and careful corner checking, you can utilize windows just like you can pallets and waste a ton of the killer’s time. However, beware that this is not repeatable – if you vault over the same window too many times, it will eventually become barbed, preventing you from going through it. Do not run yourself into a dead end!
Damage and Getting Hooked
If the killer catches up to you and you have no where to go, they will attack you and your character will become injured. Your character will move slower and they will leave a blood trail behind making it easier to be tracked.
Once the killer lands a hit on a survivor, they will be temporarily stunned, giving you a chance to create some breathing room between you and the killer. Take this time to scramble away and find the nearest obstacle to hide yourself in.
If you are lucky, you will lose the killer complete. Use this time to heal yourself, but be careful as healing also uses skill checks. Failed healing skill checks will slow down the healing process which is definitely not what you want! If you see any injured teammates, heal them when you get the chance.
If you take another hit when you are already injured, you will go down. You can eventually prop yourself back up, but more than likely the killer will grab you and put you on a hook to be sacrificed. You can struggle to try to break free, but unless the killer is VERY far away from a hook, this will not happen.
If this is the first time you have been hooked, you will slowly bleed out. You can attempt to struggle and escape on your own, but it has a very low chance of success and failure will make you bleed out faster, so in most cases it is usually best to just wait for a teammate to come help you down.
If one of your teammates gets put on a hook, it is usually a good idea to wait a bit before go attempt a rescue. It is likely that the killer will be waiting for you to be a hero, and then both of you will go down which is a big detriment to the team.
Instead, keep an eye on your surroundings. When a teammate is hooked, their silhouette will turn red and you can see it all times. You can also see how much time they have left before they are sacrificed at the top of the screen, so you do not have to rush if this is their first time being hooked.
Wait for the killer to get bored! Remember, the killer CAN choose to stay by the hooked survivor until they are complete sacrificed, but that equates to a TON of time for the survivors to find and repair generators. Eventually, the killer will move away from the hooked teammate, which you can then swoop in save them.
Escape the End Game Collapse
When all five generators have been powered on, the exit gates will activate and your chance at escape is finally here. Remember, the more survivors that make it out alive the more points you will be awarded at the end of the match. Thus, it is in your best interest to help as many survivors who are still alive as you can.
When you reach an exit gate, you have to hold the switch down to power the gate. This process takes about a minute to complete, so watch out for the killer. When the bar is filled, the gate will open and you can make your escape.
The killer may forego investigating the exit gates and instead try to hunt down any stragglers that were left behind. If a survivor gets hooked and they are within a reasonable distance of you, you might be able to rescue them.
If not all survivors are accounted for, you can buy yourself some extra time. Get to an exit gate and hold the switch to start powering the gate. When the gate’s progress bar is almost filled, stop immediately. The gate works just like the generators where progress is saved, and when you come back you will resume where you left of.
The reason for this is that it is usually a better idea to rescue any survivors before you open the gate, because the end game collapse begins as soon as the gate opens. You have little time once the gate opens, so be careful not to put yourself in a bad situation.
If you are the last survivor left in the game, remember that the exit hatch will spawn somewhere on the map. If the killer beats you to it, you will be forced to go for one of the exit gates, which can mean certain doom depending on if any gates were opened prior.
And that our beginner’s Survivor guide for Dead by Daylight. If you have any other tips to share, please comment below!


Published: Apr 28, 2020 02:54 pm