Cube Escape: Paradox is here and we’re talking about an amazing puzzle adventure game for mobile – one that is difficult to complete, but charming as well. And we want to help with a Cube Escape: Paradox walkthrough!
In today’s article, we’re sharing the Cube Escape: Paradox walkthrough for Chapter 1 – a beautiful and sometimes spooky adventure that you’ll love being a part of. And since the Chapter 1 is difficult to complete, I am sure you’ll love our complete solution below as well.
So let’s not waste a single second and instead let’s check out the Cube Escape: Paradox Chapter 1 walkthrough below!
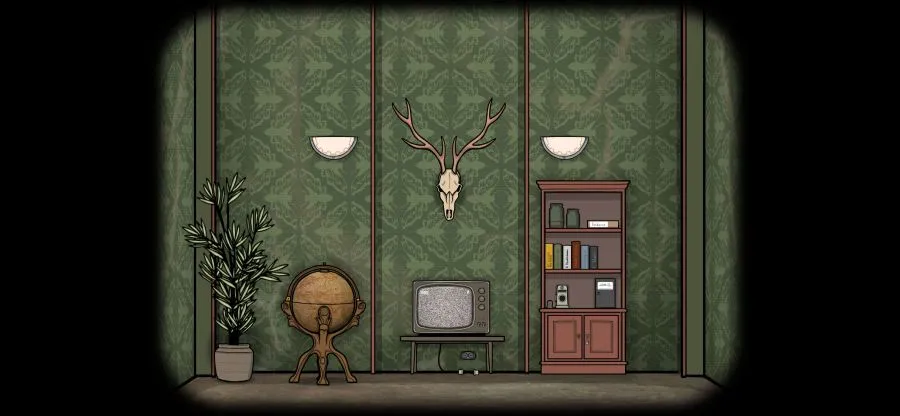
1. Tap the cable under the TV and tap the one to the right to plug it in.
2. Go back and right and tap the red curtain twice to reveal the Parrot. Take the key from the brown box on the dresser under the mirror. Tap the mirror twice to say that you are cold.
3. Go back to the dresser under the window and tap the right box. You need to complete the puzzle so that all pieces are in the right position:
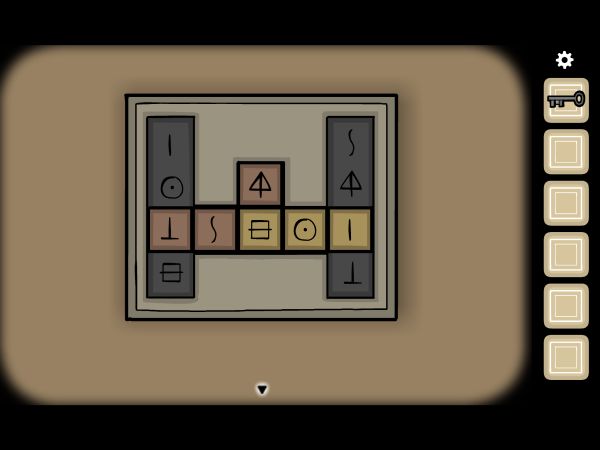
The puzzle is time consuming, but easy to complete. Simply use the bottom spots and the middle one to switch the squares until you have them in the right position:
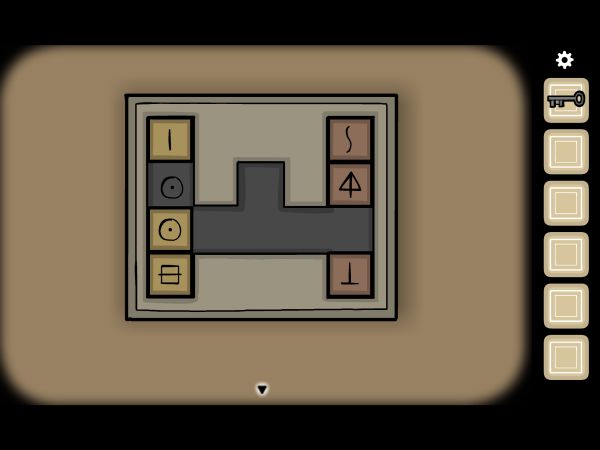
After opening the box, tap it to pick up the photo piece.
4. Go back and right. Tap the painting and pick up the photo piece on top. There’s also a clue on the bottom left of the painting.
5. Tap the right night stand and read the note. Tap the left night stand and get the cigar
6. Go back and right and tap the dresser next to the door. Pick up everything from each drawer and use the key to open the bottom one.
7. Take the coat from the hanger and then tap the plant to the right. Use the scissors on it to get a twig.
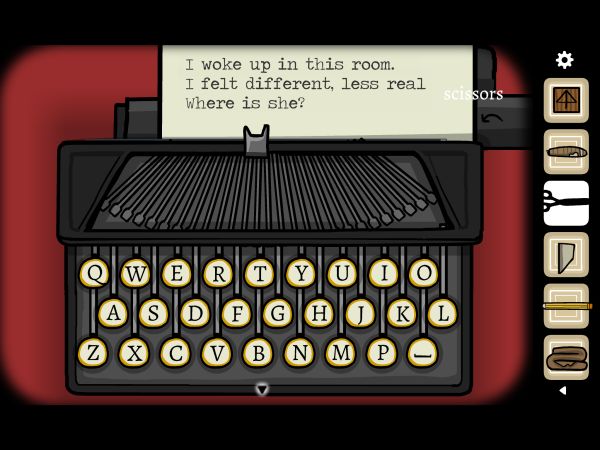
8. Tap the typewriter twice to read the note:
9. Go back to the room with the mirror and use the jacket on it. Scary! Tap the mirror again and it says that we should check the lights.
10. Move right twice and a piece of the photo will fall. Pick it up.
11. Go left and place the photo pieces on the frame that’s on the left night stand. One piece left to find!
12. Go left again and place the wood cube on the middle box on the dresser under the mirror (the one between the boxes).
13. Go left twice and tap the light switch near the door. Tap it again to activate it.
14. Go right and tap the left light – get the final piece of the photo from there. Go to the room with the photo frame and place it where it should be. A new clue:
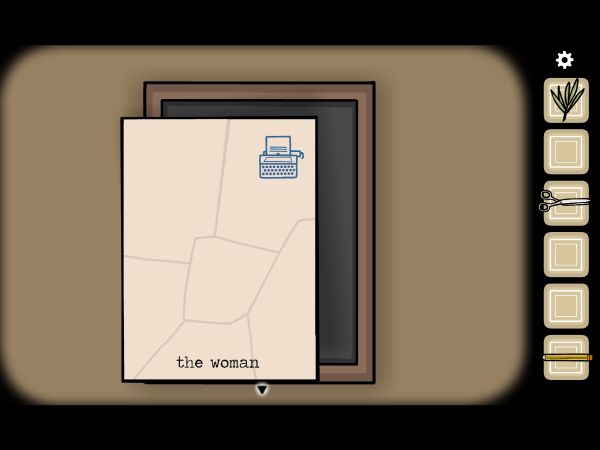
15. Go right and tap the typewriter twice. Type, using the keys on the typewriter “The Woman”. Take the piece of paper and use the pencil in your inventory to complete the drawing on it. Simply swipe, after selecting the pencil, over the man’s clothes.
16. Next, use the pencil to color the door and finally color the lady. Color the line over her neck and finally color the key. Tap it to pick the real thing:
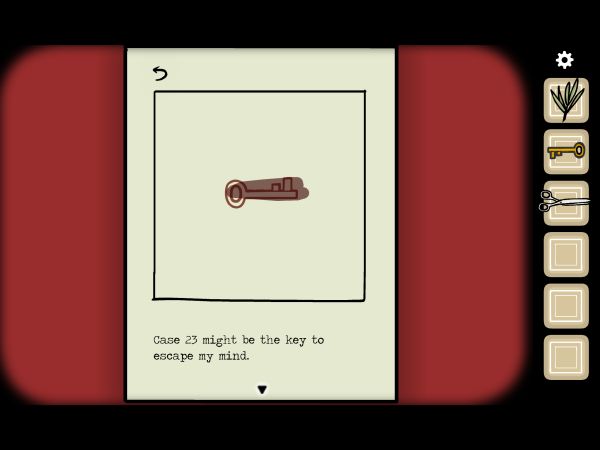
16. Go right and tap the large cupboard. Use the key on the top lock and swipe it up. Tap the upper part and tap the Evidence file, then pick up the photo, cassette and page. Go back and from under the Evidence file, pick up that yellow handle.
17. Move to the bottom side of the cupboard and tap the Case 23 file. Add the piece of paper under the “evidence B” area:
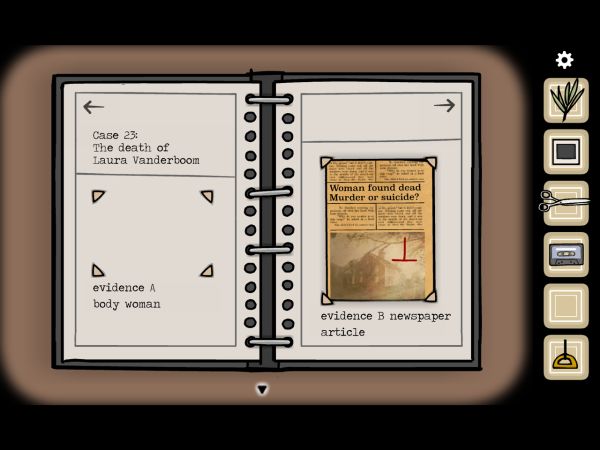
18. Tap the projector to the left of the Case 23 file and place the frame inside. Turn it on by tapping the switch at the top.
19. Move right twice and tap the line over the painting. Add the handle to it and draw downwards to reveal your next clue:
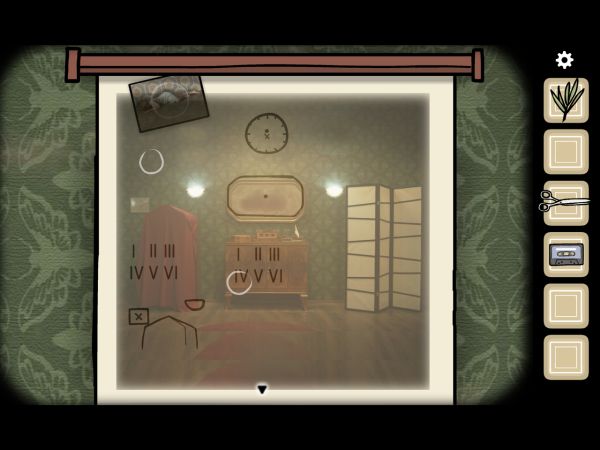
As you can see, by sliding it up and down and following the on-screen clues, we’ll get the V in the upper left circle, and the IV in the other one. Tap the photo as well in order to pick it up.
20. Go right and tap the top of the left night stand near the door. Tap the Cassette player, then tap the eject button (to the right), put the cassette inside and tap the cover to place it in. Tap play.
The man says that he was watching TV and said “enin xis xis lennahc” – which must be read backwards as per the clue to reveal the channel (669).
21. Before heading towards the TV, let’s tap the clock on the night stand. Drag the short hand at IV and the long one at V, then pick up the matches.
22. Go back to the room with the mirror and tap it. use the matches on the mirror, then tap it, paying attention to the smoke shapes: circle, S, square cut in the middle, Z and spiral.
23. Go left twice and tap the doors under the projector. Tap the left one to open it and use the signs we’ve seen in the mirror to open it. Pick up the tape.
24. Tap under the TV and use the tape to fix the broken cable. Then plug it in. Tap the buttons to the left until you get 669, then tap the square at the bottom. A man will give you a new channel:
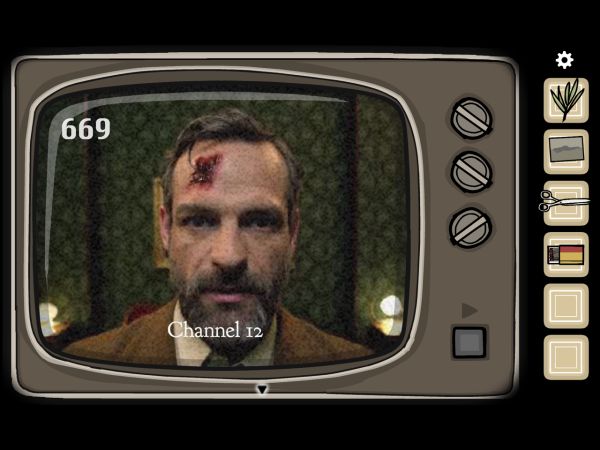
Switch to channel 12 and the same man will now tell us to switch to Channel 67. Let’s do it! We hear the man quoting the things written on the new piece of paper on the typewriter, and we get the answer: “the lake”.
25. Go back and left and tap the typewriter, then write: the lake. Use the scissors to cut the paper, then drag the bottom part up to the indicated marker to reveal the phone number:
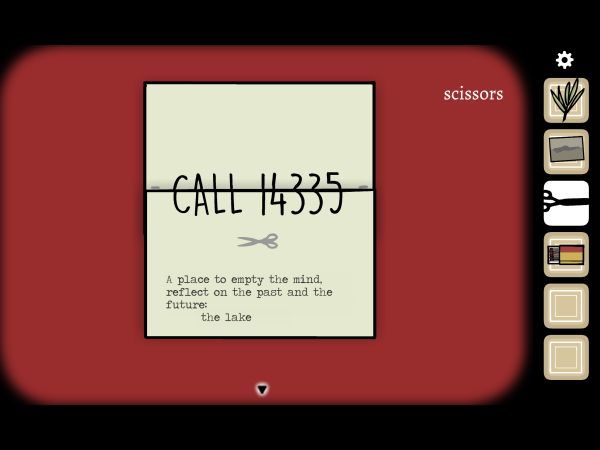
26. Go left and tap the phone, then dial 14335. The man tells you to look through the key hole, so go to the door and tap to the keyhole until you get this spooky clue (a new setting for the clock):
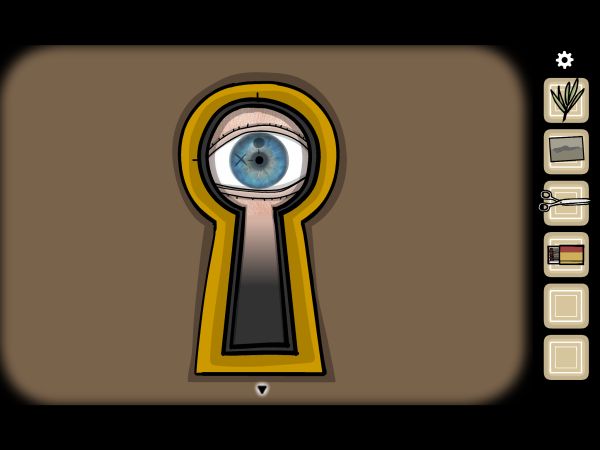
27. So tap the clock to the left and set it to the indicated hours: small one at XII and long arm at IX. Pick up the triangle.
28. Go left and tap the night stand to the left. Use the triangle key to open the bottom drawer. Then do the same with the top drawer, and swipe through all the files to find the clues to the books similar to the one below:
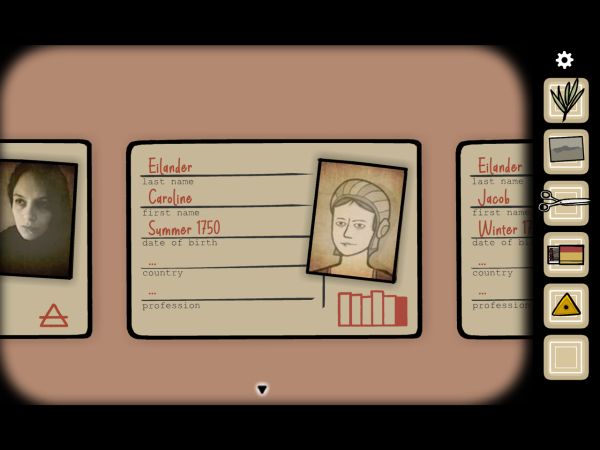
Also notice that some files have some symbols. Finally, from the bottom drawer, swipe all the way to the right to Laura Vanderboom’s profile and pick up the prescription.
29. Next, go to the right night stand and use the key to open the top drawer to get the Slide 2, and then get the handkerchief from the bottom one. Fortunately, no more scrolling needed!
30. Go left and tap the mirror. Take the cigar from the man’s hand.
30. Now go left again and place the photo in the Case 23 evidence folder. Put the prescription there as well.
Now arrange the books in the order shown by the files: Robert Hill – False Accusations, Vincent van Gogh, A. Vanderboom, J. Eilander – My Family, Ida Reiziger – The Art of Fortune Telling, C. Eilander:
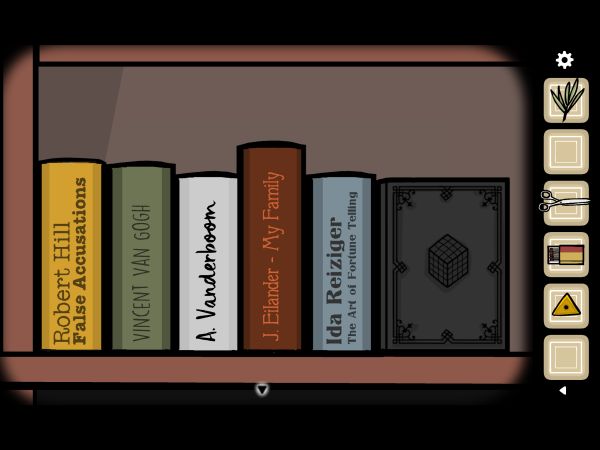
Tap the book and read through it, then pick up the glass eye and the wooden block.
And this is it for now. We’re working on completing the Chapter 1 in Cube Escape: Paradox and we’ll update this article with the rest of the walkthrough soon. So make sure to come back soon for the updated version.






Published: Sep 21, 2018 11:31 am