Team Fortress 2 is more than a decade old at this point, and it still has a loyal fanbase, thanks to its timeless charm and awesome class-based game play. There are lots of strategies that players can take advantage of when playing the nine classes in the game. Knowing your class and its strengths and weaknesses are the key to victory, so here are some of the best TF2 counters for every character.
How to counter every class in Team Fortress 2
The nine classes in Team Fortress 2 are categories into three types: offensive, defensive, and support. Each type specializes in a different form of attack, and they all have their own weaknesses. Targeting and countering certain classes is the key to winning in Team Fortress 2, so here are some strategies you can use against each of the nine classes.
Scout counters
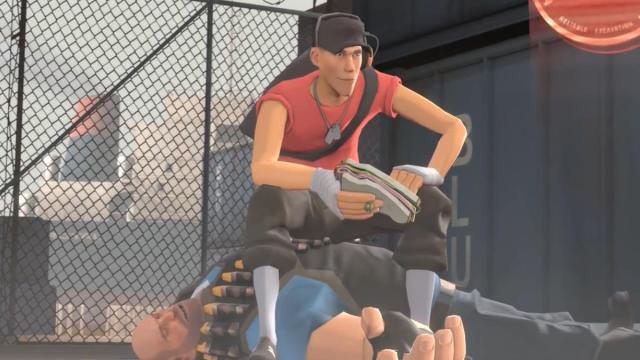
Scouts are easily the most mobile class, possessing the highest base movement speed alongside the ability to double jump through the air. A good Scout can be an absolute pain to deal with, as they can run circles around most classes while harassing with them with weapons that are very strong in close-quarters.
As such, restricting a Scout’s mobility can be helpful when it comes to dealing with them. Because they are so fast, the usual options like Spy backstabs and Sniper headshots become less viable, so you need to rely on normal weaponry to take them down.
Related | Best Summer 2023 Cosmetics in TF2
Scouts usually try to get up close and personal with you as their Scattergun deals more damage to close targets, so try to maintain your distance. Weapons that can slow enemies down like the Heavy’s Natascha are very helpful when dealing with Scouts.
Heavies in particular are pretty good at dealing with them, as they just need to keep their minigun trained on them for long enough to discourage them from getting any closer. Soldiers, while requiring a bit more finesse, are good too, as they can lead their rockets to deal some damage. Scouts have low health, so you only need a couple of splash-damage rockets to take down one.
Of course, you cannot miss when using robot-powered weaponry, so an Engineer’s Sentry Guns are the bane of all Scouts. Since Sentry Guns can track even the speediest of Scouts, they can constantly push them back to prevent them for doing any substantial damage with their Scattergun.
Soldier counters
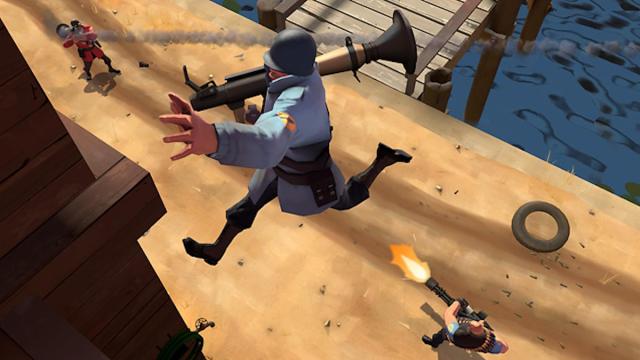
One of the Soldier’s biggest counters is the Pyro, due to him being able to compression blast rockets back at the Soldier. If you are getting swarmed by rocket explosions, consider switching to Pyro, and smart Soldiers will think twice about firing a rocket your way.
While Soldiers have a decent amount of health, they usually shave off some of it to rocket jump a lot. Soldiers are pretty slow on the ground, so you will see most of them flying around in the air. However, they have to reload sometime, so waiting until they land to catch them off guard is sometimes a good strategy.
Pyro counters
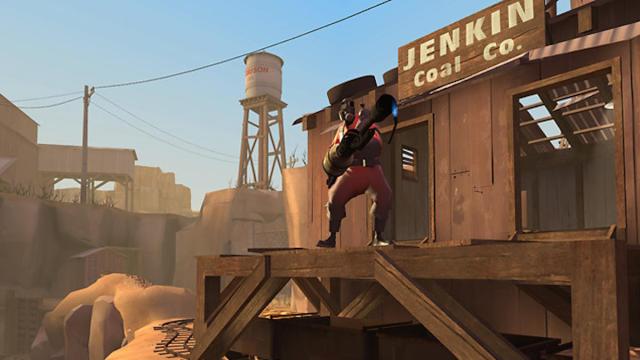
Pyros are extremely deadly at close-range, so be sure to keep your head on a swivel—they will most likely try to ambush you, using corners and obstacles to their advantage.
Your best bet against them is to catch them in open areas where you have plenty of space to move. They have no movement abilities, so a Pyro that runs straight at you holding down their flamethrower trigger is likely to drop in a few seconds, as they cannot really defend themselves against Heavies, Snipers, and Soldiers.
If you are playing as a Pyro, do not forget that you can extinguish allies who are on fire by using your compression blast on them. You can do this by right-clicking with your Flamethrower equipped.
Demoman counters
The Demoman is one of the trickiest classes to counter, as he has an extremely versatile kit that can be suited for all sorts of scenarios.
His basic kit allows him to cover large areas in explosions using a combo of his Grenade Launcher and Stickybomb Launcher. Pay close attention if you are rushing into an area with a Demoman nearby, as there may be a stickybomb trap—they can be destroyed by shooting at them.
If the Demoman is using his basic kit, breakthrough his traps and take him head on. The Demoman is not great at close-encounters as they rely on indirect damage, unless they are using the Loch-n-Load, which does more damage with direct hits.
However, the Demoman can forgo his explosive weapons and opt for melee weapons that make him a terror at close-range, so analyze the enemy Demoman and react accordingly.
Heavy counters
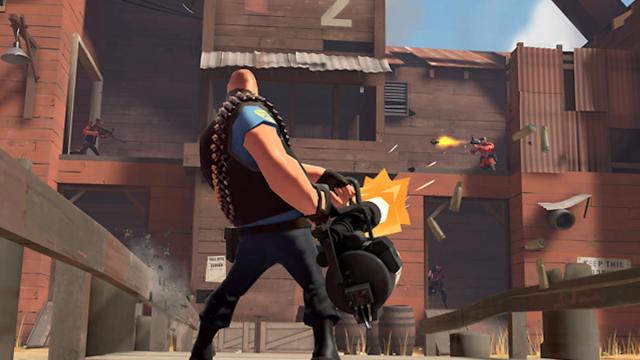
Although packing the largest health pool in the entire game, the Heavy is the slowest class, especially when he is revving up his minigun. This makes him an extremely vulnerable target to headshots from Snipers and backstabs from Spies.
The Heavy’s slow movement speed is his biggest weakness. While he is a terror in narrow and close-quarters rooms, his minigun is extremely inaccurate at mid-to-long range distances, so stay as far away as you can and pick him off from a distance.
Engineer counters
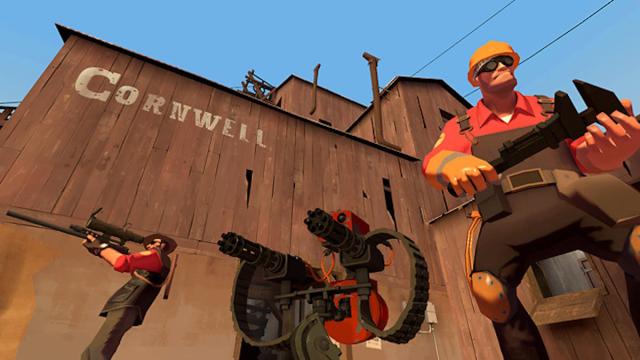
The Engineer can build Sentries and Dispensers to heavily defend important points of the map. A well-defended Sentry nest can be an absolute pain to break through, so here are some pointers.
Spies can utilize their Sappers to disable and eventually destroy any Engineer building. Engineers can remove Sappers by hitting them with their wrenches, so coordinate with your team to lead a focused attack on a Sentry nest for the best results.
Alternatively, you can just take out the Engineer first, then destroy the nest. Engineers have to hit their buildings multiple times with their wrenches to repair them, which makes them easy targets for Snipers.
Careless Engineers who build their buildings too close together are also susceptible to explosive weapons. Multiple Soldiers can rush in with their rockets, or Demomen can lob grenades and stickybombs all over the nest.
Medic counters
Medics are not especially vulnerable to anything, but Spy backstabs and Sniper headshots work great on them, as usual. They are high-priority targets, since they are the backbone of the team. Once a group loses their Medic, the rest of them will follow shortly.
One thing you can count on is Medics always being within sight. In order to keep their team healthy, they essentially need to be up there with them in all the chaos, as the Medi Gun does not reach that far. You can take advantage of this by targeting them first when enemies push in, so that the enemy team cannot fall back and heal.
Another good strategy is to separate the Medic from his team, singling him out. You can do this with weapons like the Pyro’s compression blast or with explosions from a Soldier’s rockets. Medics are practically helpless when they are alone, making them easy kills.
Sniper counters
Snipers with good aim are extremely deadly, making them high-priority targets. They are most often seen in the back lines or at high perches looking for their next shot, and as such, they usually are not aware of their surroundings, making them susceptible to backstabs Spies.
Of course, a lot of Snipers opt to use the Razorback to defend themselves from backstab attempts. If you encounter a Sniper with one, it is a better idea to switch to your Revolver and go for an easy headshot.
Funny enough, a good counter to a Sniper that is picking off your team is another Sniper of your own. When it comes to Sniper duels, it basically boils down to who can aim the fastest, but Snipers are typically not that mobile, making them good targets.
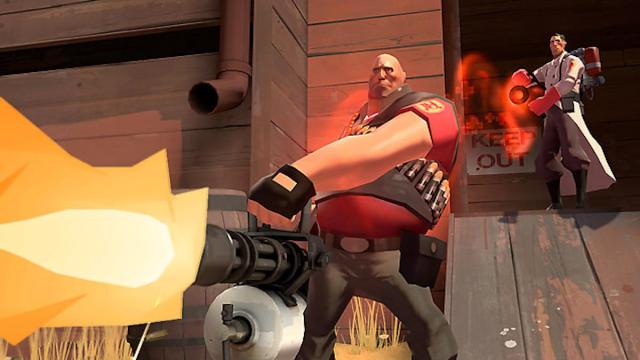
Spy counters
Spies can sneak around the enemy team and base while cloaked, and backstabs are guaranteed instant kills. With his Disguise Kit, he can impersonate enemies and cause massive confusion and chaos.
But, what trumps chaos? Even more chaos! The Pyro is the ultimate counter to Spies, as they can just spin around a location where there is a suspected Spy lurking about and hold down their flamethrower trigger. With a steady stream of flames, Spies will have a hard time getting around undetected.
What is even better is that the Dead Ringer causes hurt Spies to feign death and instantly cloak, but if this is triggered by a Pyro’s fire, the Spy remains on fire, instantly giving away their position. If you need a Spy checker, the Pyro is your guy.
The amount of strategies you can employ in Team Fortress 2 is endless, so let us hear some of your favorite strategies in the comments below!


Published: Jul 14, 2023 05:44 pm