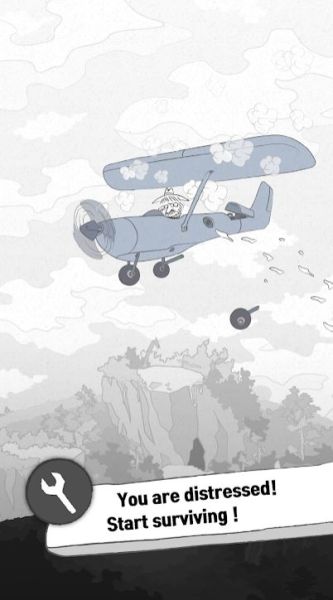
In today’s article we are going to cover all of the Survivor Mr. Who tips and cheats to help you survive for a long time and learn all there is to know about your environment!
In this game you are basically tasked to survive for as long as possible! If you played Don’t Starve or Don’t Starve Together, then you might spot some similarities between the two, in the sense that in both you have to survive the night, collect during the day and build as much as you can before you die (of starvation or killed by the environment).
So if you want to learn how to survive in game, look no further! We’re here to give you all the Survivor Mr. Who tips and tricks that we got, therefore let’s not waste another second and dive right into them!
Learn some basic stuff – or at least pay attention to them
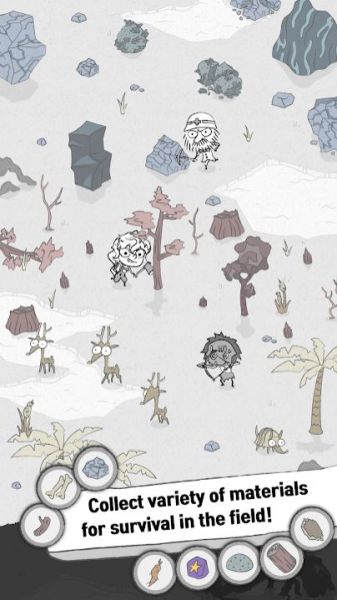
In the game it’s really, really easy to die and lose instantly as soon as you start, because as soon as the night kicks in, you will be attacked by some strange enemies. Your goal should be early in the game to try and collect as much wood as you can so that you can craft some makeshift fence and try to protect yourself.
A few other stuff that you should pay close attention to are these:
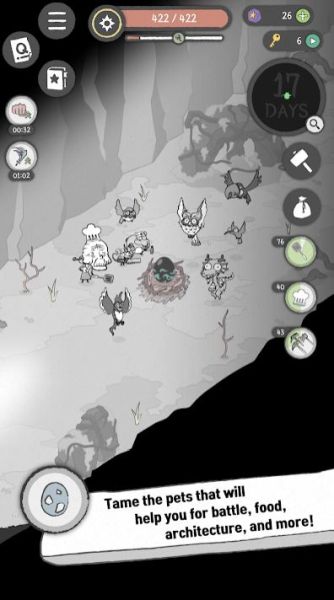
– If you want to know the day / noon / night shift (because there are three stages to it) then all you have to do is take a look at the icon on the left to your health bar, because it will have a circle around it, which shows you how much of the day (for example) you have left.
– You will have your hunger meter underneath your HP bar, and that will go down too over time, therefore you need to forage or hunt animals for some food.
– Apparently you automatically have the tools necessary to survive (pickaxe, axe and whatever else you need to cut down trees and smash rocks) so you don’t have to worry about crafting those as well.
– In order to attack an enemy or to hunt a wild animal, there is no button for that, and your character will do it automatically. All you have to do is walk next to it, and your character will start attacking.
– You can equip various gears (and battle gears especially), but you need to craft them first, so you need to build a few structures before.
– The resources will reset over night, so even if you chopped down a tree right outside of the base, next day you might find another one or even two in its place, so don’t be afraid to collect the resources next to your base first, because they replenish over night. For what it’s worth, it’s better to check the resources next to the base first so that you save some time!
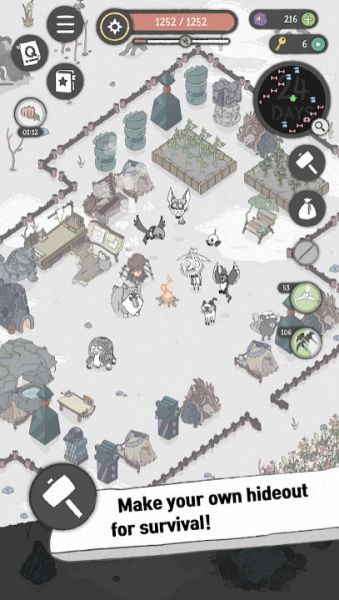
Build your hideout
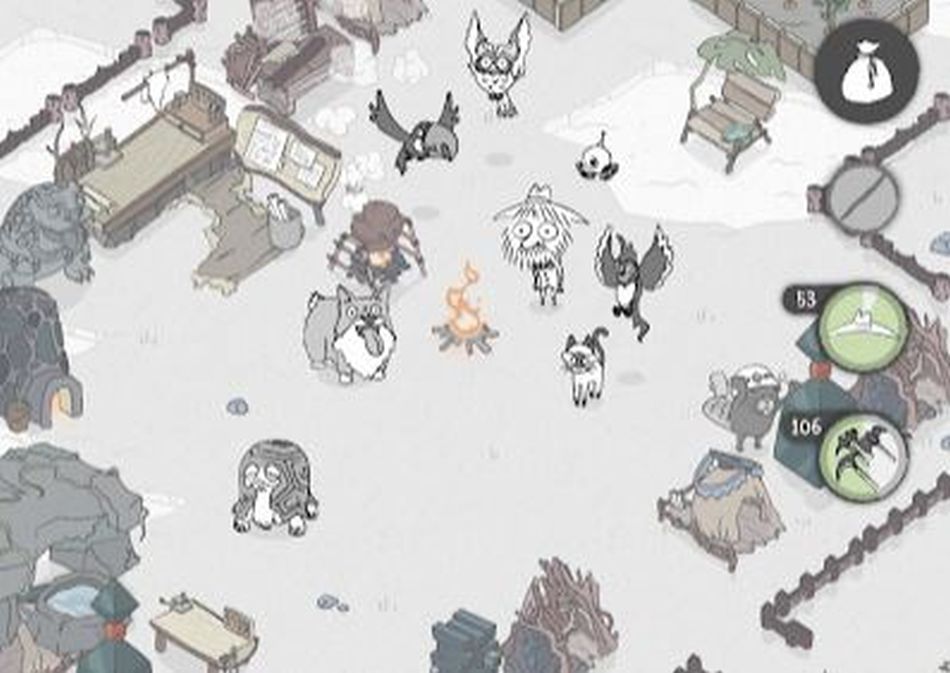
One of the very first things you need to focus on is the hideout, which at the very start is… two towers and a fence (so it’s not much). What I really suggest that you make first is a fire, so that you can cook your meat, because if you start hunting wild animals you will collect some meat, but it’s better to eat it after you cooked it.
So first things first: build a fire! That will cost 5 sticks and 5 leaves, so just walk around until you collect them and then place down the fire. Once you did that, you can start thinking about the other stuff you want in your hideout, and if you ask me, I think the second structure which allows you to build battle gears is what you should go for!
That one will let you build your battle gears, and that will help you get through the night! Once you built that, you can start chopping down trees and think about expanding your fenced areas, so you can collect wood and leaves to build fences!
If you start collecting stones, then you should build defense towers which attack the enemies. You can tap on the craft button -> first tab (towers). The various decorations you can find in the last tab are kinda decorative only, but if you feel like building a lion statue, who am I to stop you from doing so? (I built one as well)
Kite your enemies at night
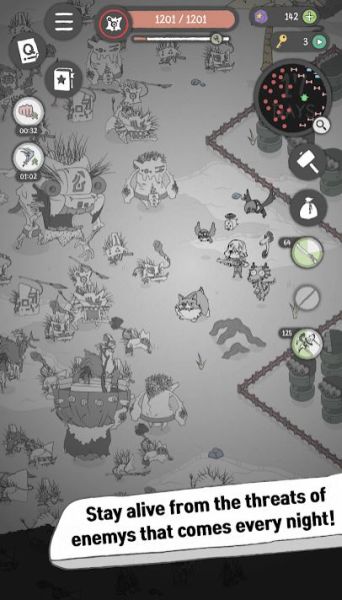
Since you will be attacked from all corners at night, you are pretty much surrounded. One of the worst things you can do early on is to sit still in one place, because that will make it so much easier for the enemies to hit you.
Instead you should run around and not stop until it’s morning again, because as soon as the sun will rise, they will instantly disappear! One other useful way that I have dealt with the night time attackers, is I have run outside the base and started running around until the attackers gathered behind me and followed me, then I just ran them over in front of the defense towers in my base.
The defense towers attacked them at once and I ended up taking very little damage in the process, since only 1 or 2 ranged hits landed on me.
So I would suggest that until you can build a strong fence and several defense towers around your hideout, you just kite the enemies and run them around your base’s towers so that you won’t have to tank their attacks.
Another thing you can try to do is attack them as well once you dragged them under your towers, but if there are a lot of enemies you will end up taking quite some damage.
Build Defense Towers – all around your hideout!
The Defense Towers are better than you might expect, because they instantly attack the enemies as soon as they are in range. If you thought that you would just fight off the enemies and then go back and heal, you need to think that the resources are scarce and limited, so you shouldn’t waste them like that.
Once you built a couple of stuff in your base, start placing a fence all around it (any fence, really, will do) and place Defense Towers inside, every 2 blocks! So you can build a tower, then leave a block empty, then build another one, and keep going with this pattern. For now this will be enough damage to take on the night enemies.
This should do for early and mid game, because in the end game you might want to consider placing Defense Towers in the empty spaces between them too. This will let you stay safe at night, and the more towers you have, the faster the enemies will die, so it’s better no matter how you look at it.
Tap and hold to quickly collect
Now this little tip is pretty useful if you are in need of all the resources that you find around you, because if you tap and hold the collect button your character will automatically start collecting everything around it. The character will auto route to the nearest resource and start collecting, and then to the next one and so on. So just tap and hold if you want to quickly go from resource to resource and collect them!
Use the Gold Keys to unlock the various chests
Every now and then you will spot some odd looking chests all throughout the map. These chests contain various goods, and you can open them by using a Gold Key. I suggest that if you are just getting started and it’s your first time playing, you don’t waste your keys just yet. Use one or two, but save them for when you know how to survive because the keys are premium loot.
How to get more keys for free: to get a free Key you will need to tap on the green button next to the keys, and then you will see the second option to watch an ad and get 1 Key. So you can do that and by watching a short ad you will get a Key for free!
However I have found that it doesn’t work while in the survival mode, so only after you died or before you are starting a new game. You can also spend Gems to purchase Keys, 5 Keys per 50 Gems or 11 Keys per 100 Gems, but you should do this only after you unlocked the other characters.
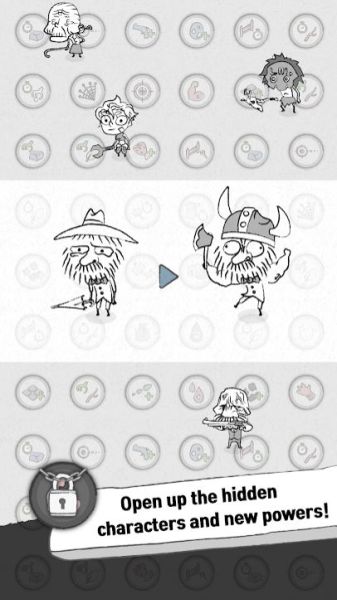
Unlock more characters
Unlocking a new character is pretty easy, so all you need to do in order to unlock a new one is save 200 Gems per character and you’re set! The total to unlock all the characters is 1000 Gems, so you will need a little patience.
The characters each have different attributes and strengths, so while the free Mr. Who has increased melee attack, the others have other stats:
Boss: increased ranged attack
Druid: gains additional chance to get extra eggs
Big Sister: increased hunger recovery by food
Architect: increase all towers’ abilities
So choose wisely when you want to unlock the next one! I would suggest the Architect, as I am really leaning more towards the tower damage, but all of them are useful depending on the situation!
Complete Achievements and quests to get Gems
The Quests will be found in the top left corner of the screen, and while the Quests are in English, for some reason the Achievements are not! So I can’t really guess what it says there, but once you complete them they will become white (from gray) and you can collect the Gems!
Other ways that you can get Gems: along with completing the Achievements and Quests are by repairing the Plane, from the Moles, and by simply surviving for a long time!
See something smokin’? Go there!
You might spot some stuff on the ground which might look like there is smoke coming out of them (such as rocks, trees and other random items). When you head on there you will be able to watch an ad and claim some free rewards! So do this if you want to benefit from some freebies!
Check out our gameplay video right here:
These would be all of our Survivor Mr. Who tips and tricks that we have for you right now! Do you know some more useful survival tips? Share them with us and the rest of the players by leaving them down in the comments section below!


Published: Sep 27, 2019 08:57 am