Mixing traditional RTS with interesting RPG elements, State of Survival is a fresh breath of air in the world of mobile strategy games. And even though it still has enough elements similar to other games, a State of Survival guide is required to help you get the most out of the game.
And that’s exactly what we’re here to offer you today: a full set of State of Survival tips and cheats for a complete guide to the game. This way, you will thrive in the zombie apocalypse and build an amazing city for your survivors.
So without further ado, here are our State of Survival tips and tricks so you can learn how to play the game better.
1. Upgrade everything ASAP
Like in all strategy games, having the highest level buildings in State of Survival is extremely important for your progress. So you should always be working on leveling up your buildings.
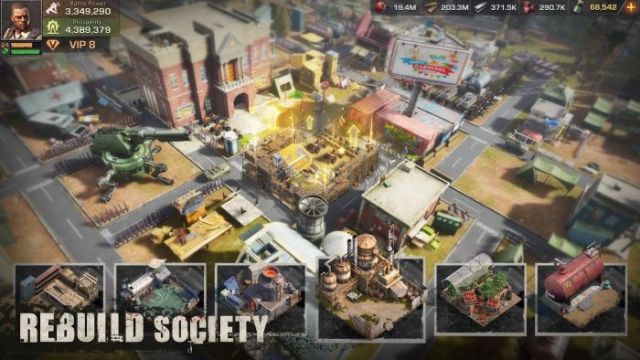
However, even though as soon as you start, you level them up instantly, after reaching HQ level 8 or so, timers start to get above the free threshold and some planning and prioritizing becomes important, especially as these timers go up quickly after you get to HQ level 10.
So even though your main goal is to have all your buildings at the maximum level, I would recommend focusing on a few first as some are more important than the others.
Your main goal is getting your Headquarters to a level as high as possible, but going too fast is not an option as you will still not be competitive enough and you will draw the attention of enemies.
Therefore, us here at Touch Tap Play suggest you to always upgrade the following before upgrading the HQ to its next level: all troop training facilities, the Warehouse, the Hospitals, the Hero Precinct and the Barricade.
These are the most important buildings in my opinion – having them to the maximum level is always important.
The others can simply be left a bit behind without big problems, especially if you are an active player and you constantly gather resources and attack.
We have tested this strategy against a more traditional approach of upgrading everything in the city before upgrading your Headquarters. The traditional method ensures that you build a very balanced city, but progress overall is much slower, so not recommended.
2. Those Explorer Trial missions are a must
The things that sets State of Survival apart from its competitor is the focus on the Explorer Trial missions, where you send your troop commanders to search for a cure for the disease and fight hordes of zombies in the mean time.
These are pretty time consuming and not too fun in my opinion, but you have to complete them for bagging in those rewards and improving your progress in the game.
There are also events related to completion of certain level (at least at the moment of writing this), so completing the trial missions becomes even more important.
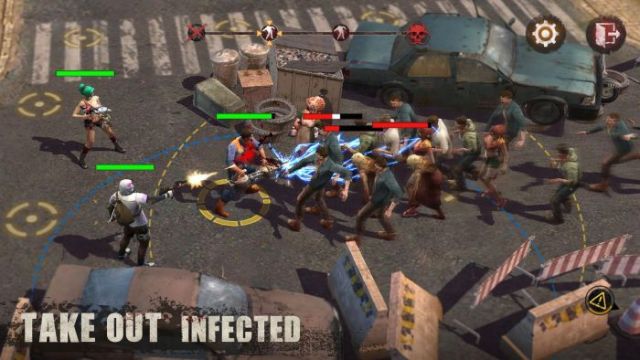
When it comes to the missions themselves, make sure to select your best Heroes and try to mix and match them. I found that the combination of 1 Brawler (tanky type) and 2 Ranged Heroes works best for most cases. So you can try setting up the team likewise.
The starting Hero is vital thanks to its turrets – so keep spamming those on the field, making sure that they cover all the areas and you should have no problem completing the challenges easily… although still time consuming and a bit dull due to their repetitive nature.
3. Always be training troops
This is extremely important, because your troops are the most important element of the base game. So you should always train troops and keep your troop training buildings upgraded to the maximum level.
It goes without saying that you should always train the highest level troops available and completely ignore the others once you unlock something better. The new troops have better stats and are more useful.
When sending troops to battle, make sure to always send your best first and keep the lower level ones to defend your city or gather resources on the map.
Alternately, when gathering resources only, send the lowest rank troops and keep your best at home for increased defense.
4. Complete the Story & Daily missions
In order to go through the game at its pace – but especially grab some impressive rewards along the way, make sure to check out the story missions and complete them ASAP. These will be completed naturally as you build up your base and perform all sorts of activities.
Don’t fall behind waiting to complete the missions and sticking to their story line only: keep upgrading and playing as that is even more important.
Even more if reaching a certain level with your base is a requirement for a future mission, you’ll already have it completed! In other words, you can get ahead and simply collect the rewards once the missions catch up.
Then, we have the daily missions which should be your main goal of completion after playing State of Survival for a few days.
You get points for performing all sort of activities in the game, and based on that you receive additional rewards.
You want to get to at least 140 points each day, as you will receive Epic Skill Books at that point, but ideally go all the way to 200, because that’s where the top rewards are: an Epic Hero search and Legendary items.
5. Join an active alliance
Being part of an active alliance in State of Surival is vital for your overall well being and for easing up your progress.
Not only that there are missions that you can only complete with help from fellow alliance members, but you are better protected against enemies looking for farming material, you get all sorts of boosts and progress is much faster.
So being part of an active alliance is vital, I would say. So spend as much time as it is required to find a solid one – one that is active, has people in the same time zone as yours (VERY important for rallies!) and potential to grow.
If possible, don’t rush to get to your new alliance’s territory as soon as you join and spend a couple of days away instead. and see if it is indeed a good fit. Those teleports are expensive… and you’d better not waste them!
6. Speed up research and building using alliance help
Another important boost that you get from your alliance – which is even more useful in the earlier stages when build and research times are low – is the fact that you get some free time boosters that you can use to speed up your progress.
Make sure to use those as soon as you log in after a longer period of time away – even though the amounts of time they offer as a speed-up is usually limited (especially in the later stages of the game), it’s still better than nothing… and they’re free!
You can use these speed-ups for boosting construction times and research times and they’re called “morale boosts” in your speed-up menu.
7. Keep an eye on your backpack items
As you progress through the missions and the game itself, you will end up with a gazillion items in your inventory. There will be some great stuff there – stuff you didn’t even know you had, most likely.
So make it a habit to check out your backpack every couple of days, especially if you’ve just started to play the game – there will be some really useful items there:
There will be all sorts of XP boosts for your main character – so make sure to use those ASAP since you’ll get skill points to spend and improve them. You will also have a lot of time boosters and resource boosters and whatnot.
When it comes to the resources – I recommend you to keep those and only use them when you need extra resources for upgrades.
Don’t rush to use those items if you already have resources because that only makes you a more attractive target to opponents – and you just risk losing them just like that.
Later on in the game, the costs will increase a ton, and that is where these resource packs that you’re hoarding will become useful. But apart from these, don’t hoard up on anything else!
8. Keep performing Hero Searches
From your Hero Precinct, you can regularly perform Hero Searches: you have Advanced and Epic searches, which won’t always guarantee hero shards but will always give you some resources.

These Hero Searches don’t stack up if you don’t use them – and the timers reset only after using them, so make sure to constantly perform these searches and do so as soon as you have the option to (use any special items you have for this in your backpack too!)
9. Develop your best Heroes
As you play the game, you will unlock more and more heroes, each with their own advantages and disadvantages.
These heroes will be used to both lead your troops in battle (or gather resources or perform other activities on the map), but also as main characters in the Explorer Trial missions.
These heroes have special skills – and each of these skills does something different based on the area they are playing in.
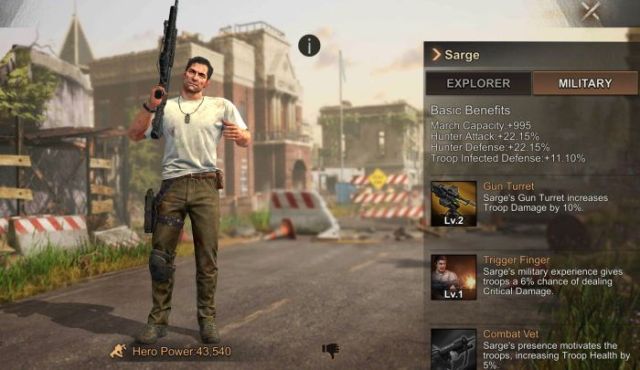
For example, Sarge’s Gun Turret is really useful in Explorations as it places that gun sentry that shoots down enemies, but the same skill increases troop damage in the Wilderness.
The same goes for all heroes and the only way to really know who’s better suited for your needs is to simply go to their info screens and check out all the details.
Then, once you have the best selected, focus on playing them over and over again and level them up and help them reach out their maximum potential.
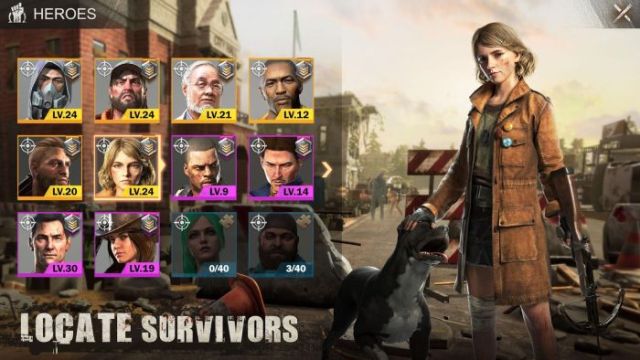
It is difficul to level them all up – and you don’t even need them all maxed out. Just pick your favorites and turn them into real beasts.
10. Build up your leader to help your military
Your main character – the leader of the pack, which can be accessed by tapping the photo in the upper left corner – is also a character that can be upgraded and made even more useful to your squad and help you progress faster.
On of the most important features you will have access to early on is the skill points taht you can invest for getting various boosts: these are minimal in terms of actual percentages, but they are still better than nothing as every little bit counts.
Plus, if you decided to specialize on a specific category instead of spreading out in all directions, you will see noticeable and potentially game changing results.
I personally recommend you to invest the points only in the Military skill tree as that is the most useful in the long term and the better help you get there, the better your performance in battle and overall resources gathered.
You can reset your skills at any time and start over if you are not happy with how you spent them – but unfortunately that costs 2,000 Biocaps, which is mighty expensive. So better do it right from the beginning.
11. Collect Intel and do the Intel Missions each day
Another thing that you should grind on a daily basis are the various Intel Missions – and make sure to collect the Intel regularly since you’re tapping on the building.
The most important here are the Special Intel missions – but these require you to team up with other people from your alliance (hence the reason for finding one with active, solid players).
Both types of missions are fast and easy to complete, so make sure you take care of them regularly.
12. Keep attacking in the Wilderness
Once you have set up a solid city and worked on all the things mentioned above, it’s time to start looking at the Wilderness map (the general map where all the cities and everything else is shown).
You have a lot of things to do there, just like in any other strategy game: from attacking other players to defeating monsters on the map and AI-managed camps, to gathering resources.
My recommendation is to keep PvP at a minimum for as long as possible and instead attack the monsters and gather resources to grow your city.
The best targets for PvP are players who have become inactive – or players who are weaker than you are, but have in mind that when attacking them, you risk upsetting their alliance and you also get some of your troops killed (more or fewer, depending on the opponent’s power).
And even though a human target that you attack can reward you with a ton more resources than the AI-controlled units can, it is usually a good idea to focus on PvE and switch to PvP only during wars or special events.
Or just find a farming target – a lower level player that is in a weak or ideally no alliance. These are difficult to find and usually, attacking another player will see you get hit hard by their fellow alliance members.
13. When away, collect resources from the map
It is also essential to send all your troops to collect resources from the map whenever you leave for a longer period of time.
Unless you are at war, there is absolutely no point in keeping your troops at home – send them to gather useful resources instead!
14. Keep an eye out for special events
There always seems to be some sort of a special event in the game. Many of these events reward you for simply being active in the game and reaching some otherwise easy to reach milestones, like attacking a specific number of enemy units on the map, training troops and so on.
The rewards though are extremely useful and the better you do in the event itself, the better the rewards are, including premium currency and special character shards.
So always look at the events that are currently live in the game and do your best to gather all the benefits they offer as they can provide huge help to those active enough to max out the rewards.
15. Don’t hoard up on speed boosters!
Use the speed timers ASAP. Those 1-minute and even 5-minute boosters will only add actual value to the game until your HQ gets to level 10 or so. Afterwards, they will be pretty much useless unless you have them in huge quantities.
But early on they help you build up your base and army a lot faster, so don’t hoard up on them! Train faster, build faster and even research faster and you will do a lot better than most.
If you hoard up the boosters, especially the 1 minute ones, you will not get much from them in return. When you get to a waiting time of 24 hours or more, even 100 one minute boosters won’t make much of a difference.
This would be all that we have in store for you right now in terms of State of Survival tips and tricks. If you have additional advice or you need extra help, don’t hesitate to let us know by commenting below.


Published: Jun 29, 2020 11:05 am