In today’s article we are going to share with you all of our Overloot tips and cheats to pass more stages and to combine all of the items that you get the right way, so that you can have an easy time passing the stages and making Gold in the meantime!
The game is, in my opinion, not just super addictive, but also super fun! I have been a little bit OCD about arranging all the loot and merging it as best as I could, and I guess that’s why I have been quite so in love with the game!
But let’s put praising aside, because you came here to learn all the Overloot tips and tricks that we have discovered so far, so let’s not waste another second and dive right into them!
Start merging as best as you can
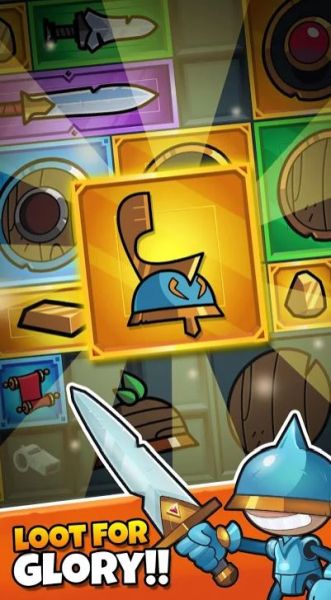
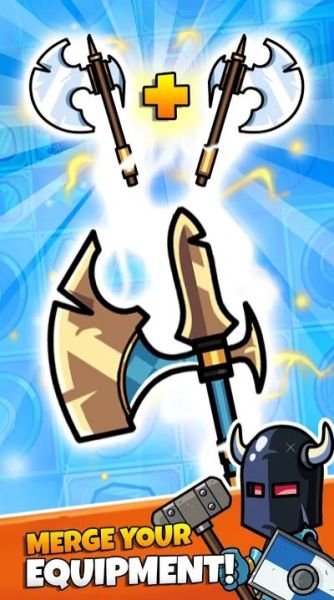
The entire purpose of the game would be you passing as many stages as you can, by upgrading all of the items which you get. That would be, very simply put! But because this is a little bit more important than putting two green swords together, let me give you a few pointers on how you can merge the items better!
One of the best things you can try to do with every single item that you receive is to make it yellow quality. That is the highest possible gear quality and it will give your gear the best stats (ATK, DEF). Try to do that with each piece of equipment that you get because it will reward you well even if you won’t equip it!
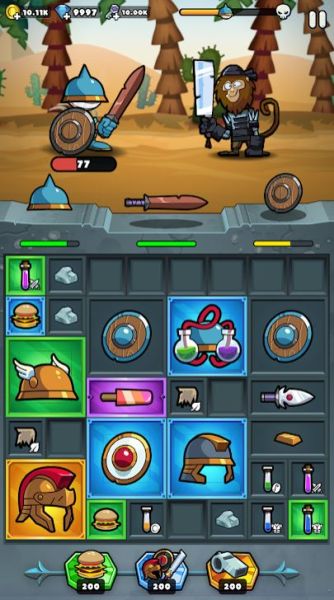
Also, don’t forget to merge the food items which you get! That is, those burgers that restore your HP! They will restore more HP if they are higher quality, so why not merge them as well? Also, they will take up less bag slots if you do that!

Focus on items one at a time early on!
Now I know that the more you progress through, the more difficult it will get and the monsters will start hitting harder and taking less and less damage! That is why you need to get good items! But early on in the game it’s not quite like that!
Early in the game you can beat the monsters even if you just put on a wooden sword and fight your way through! So that’s why I suggest that you try to focus your attention on upgrading items one at a time to yellow quality.
You can try to work on multiple items at once, but that will require quite a lot of storage, and you will also need to equip items to your hero, so that’s why it’s better to take it one at a time.
Keep track of the stage progress to cash in more money
Remember how I told you that I suggest that you upgrade the items one at a time? Well, that is because when you sell them the yellow quality items are worth more than the rest! So if you can try to get at least one yellow item per stage, especially early on in the game, it’s super good!
As you notice at the top of your character there will be a small progress bar – that indicates how far away you are from the stage’s finish line. Once you reached that finish line, all of the items that you have in your inventory will turn into money and you can cash it in.
I suggest that you do not forget to upgrade the items before you reach the end of the stage, because that will give you more money overall! So try to maximize all of the profits that you can make!

My tip here for making extra money:
If your equipment broke at the end of the stage, then I suggest that you equip some brown quality gear to empty them from your inventory because when you finish fighting the last enemy of the stage you will get some more items – then you might get a chance to get some green and maybe even blue gear which results in more money!
Level up the Forge
Don’t forget to upgrade your Forge as often as you can, because that will increase the quality of the items you get as well as make things a lot better in the long run! So just keep on collecting all the resources necessary for the upgrades then make upgrades every chance that you get!
The Forge is located in the Village, in the bottom right corner – there you can find the mighty looking blacksmith (kind of a Thor-lookalike) and you will need to gather Wood, Iron and Purple Gems to upgrade the forge. You receive those from Chests and from finishing levels, so make sure that if you want to make more upgrades you try to always collect as many as you can!
Tap on gift bags from the Forge
Every now and then there will be gift bags which appear next to the Forge. I suggest that you tap on them to collect them because from these you can get free Coins and Gems, so it’s definitely a good way to stock up on currency for free, without doing anything!
Died? Revive for free!
There is a chance that every now and then you might kick the bucket in game – well, whenever that happens, don’t worry! It is not all lost if you die, especially because you can choose to revive for free once! All that it takes to revive for free is watch an advertisement!
This option will appear below your death screen, right next to the 5x Gems price to revive! I don’t really think that reviving with Gems is worth it, so just try to use the free ad revive when you die because that doesn’t cost anything.
Don’t let your bag fill up
I am sad to say that this is something that I have learned the hard way! So do not ever let your bag fill up, because just like in the Tetris game (the one where you stack up various shaped blocks) the same mechanics apply – once your bag fills up over the top, not only will you not be able to receive any more items, but a thief will come!
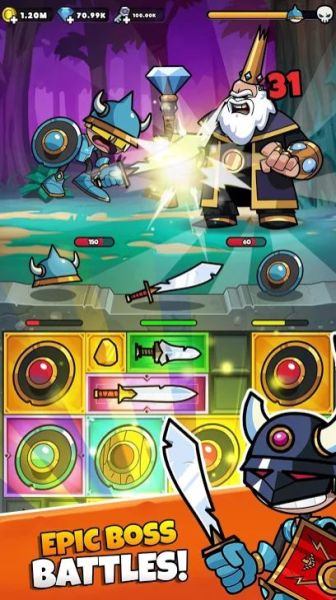
That thief will roll something like a chance and destroy several items from your inventory! So it’s always good to never fill up your bag just for the sake of saving money – because you might end up losing more than you make!
Bribe the thief?
As a last resort, if you know that you have a lot of valuable items in your inventory you can always choose to bribe the thief to leave you alone! that will cost Gems, but if your items are pretty good (several yellow items in bag) then it might be worth it!
Watch ads to speed up chests
Every now and then you will receive chests! Those are super useful for obtaining a lot of loot, and gear and you should try to open them whenever you can so that the 3 free empty slots that you have will not fill up and you won’t be able to receive any more (unless you pay 50 Gems to open up a new slot).
So depending on the quality of the chests that you open, you might need more time / more Keys, but the better chests have better loot! I suggest that you choose to watch advertisements to reduce the waiting time by 30 minutes, because it will make things a lot easier!
The less time a chest needs to open, the less Keys it needs – so it’s an easy way to reduce the number of keys needed by just spending a couple of minutes on watching advertisements!
Get more Chests!
In the game you will want to collect chests which give you useful items, and not only – you can receive these chests in more ways than just playing the normal stages, so let me tell you a little about each one:
– Bronze Chest: you can collect this for free each several hours in the game, and if you want to buy it, the cost is 190 Gems.
– Silver Chest: you can collect for free one in a few days, and if you want to buy it the cost will be 350 Gems. It contains 1 Magic-Rare Gear.
– Gold Chest: you can collect this for free every 10 days, and if you want to buy it, then it will cost you 999 Gems. This chest contains 1-2 Magic-Epic Gears!
If you really want to invest into a chest, then it’s worth it to save for a Gold Chest, even though it will take quite a long time!

Equip your best gear
Along with the gear which you equip during the stage battles, there is also permanent gear which you can equip your hero with. This is obtained from chests (as mentioned above) and it can be one of the following:
– Ring
– Bracer
– Amulet
– Horn
I suggest that you always equip the best gears that you get and try to upgrade them as best as you can using money because they will make your hero have better stats and help him survive for longer, even when no items are equipped!
These would be all of our Overloot tips and tricks that we have for you right now! Do you know some more useful game tips and have your own strategies? Feel free to share them with us and the other players down in the comments section below!







Published: Jan 17, 2020 11:20 am