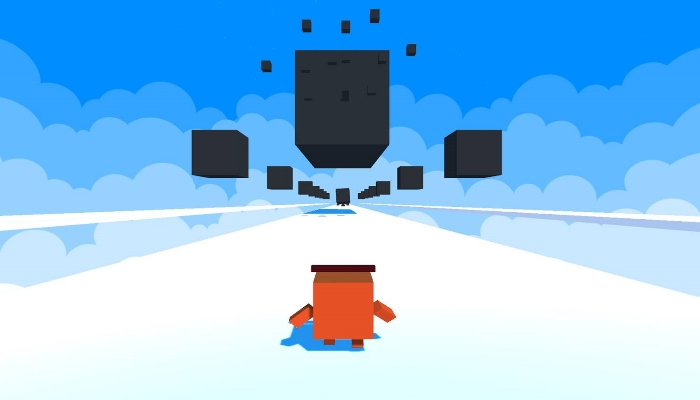
True to its name, Impossible Runner is a tough-as-nails runner where you attempt to prevent a little block man from running into his doom! While the controls and premise are simple enough, the levels in this game are anything but so that’s why we’re here with our Impossible Runner walkthrough for levels 1 to 10.
The levels progressively get harder and harder so be patient, keep trying, and don’t give up! You’re going to mess up a ton of times like we did, but that’s OK! We’ll help to the best of our ability with our Impossible Runner walkthrough!
Level 1
Like all self-proclaimed “impossible” games, Impossible Runner starts out deceptively easy. Level 1 only contains short obstacles that are spaced far apart, and you simply need to jump over them. You don’t even really need to move, but now’s a good time to get acquainted with the jump timing and moving.
It’s moving left and right that you’ll quickly notice feels really sluggish and slippery. If you don’t tap enough, you’ll barely move, and if you tap too much you’ll fling yourself right off the track. For this very reason we recommend moving very lightly and just jumping over obstacles since the moving is kind of unreliable.
Level 2
Level 2 is fairly simple as well. Now there are full rectangle blocks that take up the whole track, so these must be jumped over. Other than that though, nothing too crazy.
Level 3
Level 3 is kind of tricky. It has the layout of level 1 with the small blocks, but now they’re all scattered around making weaving through them a bit difficult. If you hang on the far edge of the track though, you can zip right past them – just watch out for the longer blocks introduced in level 2.
Level 4
This one’s a big test of your timing. There aren’t many obstacles lying around, but the biggest challenge are the gaps in between the platforms. You’ll need to jump at the very last possible moment to make these jumps, so your timing must be spot on!
Once you clear the big gaps, the level will try to throw you off by making the gaps shorter. You’ll need to jump earlier to make sure that you don’t careening off the track!
Level 5
Now here’s where things get pretty challenging. Giant blocks will fall and cover the tracks, but then you’ll realize that there are actually three lanes – one to the right and left of where you start. To get around these blocks, you’ll need to jump across and swithch over to a side lane.
The most important part is that you don’t give yourself too much momentum when you switch lanes. If you swing onto another lane too hard, you won’t have enough time to jump back.
Level 6
Level 6 is a bit of a breather level because it’s not too difficult. What looks like the long rectangular obstacles ahead of you are actually steps in elevation, so make sure you jump at the right time to clear it. That’s about it for this level!
Level 7
Level 7 is one long, EXTREMELY narrow path. You just need to jump over the small obstacles to make it through to the end, but you’ll need to be careful. If you haven’t noticed already, your little box guy slowly drifts to the left even when you’re not inputting any directions. Half-way through the level you may need to tap right VERY SLIGHTLY to correct his course. Too much and you’ll go overboard!
Level 8
Level 8 combines the designs we saw in Level 5 and 7 together. You’ll need to switch lanes once again to avoid tall obstacles, but now the lanes are extremely narrow paths. You’ll need careful movement and precision platforming to get through this one!
Level 9
Level 9 is a fairly straightfoward path with lots of long obstacles in your way, but with one central gimmick: the track itself is invisible! It’s OK though – you can still tell where the edges are by looking at the long obstacles.
Jumping is a bit tricky here since you don’t have a point of relation, but you can also jump off the track momentarily and swing back on to get around some of the longer obstacles.
Level 10
Prepare yourself for the ultimate challenge! As soon as the level starts, IMMEDIATELY swing to either side and jump, because a big block will fall right in front of your face. Don’t relax yet though, as you’ll need to swing back around to the center to avoid smacking into the side obstacles. Then, you’ll have to jump over big gaps and avoid a combination of small and big obstacles.
Basically, this is all of the levels combined into one giant mess, and this is the one level that you’re going to have retry many times to get the hang of. If the movement controls we’re a little tighter, this level would be much easier, but alas.
With enough patience and determination, you too can conquer the Impossible Runner. If you’ve got any other tips or tricks to share about a specific level, let us know in the comments below!


Write A Comment
Impossible Runner Walkthrough: Level 1 – Level 10