
Today’s article focuses on a complete guide for Undead Nation: cheats and tips that will help you build the ultimate shelter for your survivors, recruit more of them and have the most fun in the game. So if you want to make sure that you’re doing things the right way, this is the article to read!
Undead Nation: Last Shelter is a beautiful game that’s right up my alley. I mean, who would say no to beautiful visuals, spectacular fights, in-depth strategy and tons of content to unlock and keep you busy for ages? This is a perfect strategy/RPG combo for gamers of all ages and I can only hope that it will come to iOS too since everybody should be able to play this awesome game.
But enough with the praise! Instead, let’s just see what has to be done to thrive in the game, so let’s check out below our Undead Nation tips and tricks in the complete strategy guide below!
Upgrade all shelter buildings to the max
In most games, the Headquarters level is similar with the maximum level your other buildings can have. However, in Undead Nation, things are a bit different and there are some rooms that can be leveled up more than the HQ’s level. So make sure to take advantage of this!
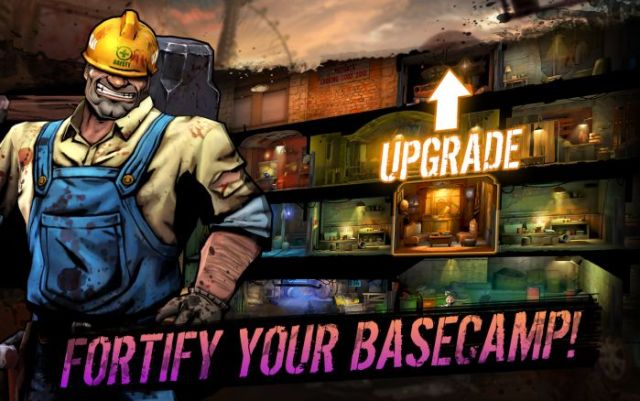
Currently, since it’s difficult to find solid targets to raid in the game, I would recommend starting with upgrades for the Materials and Food producing rooms, then move to storage rooms, the training rooms and everything else last. Having a very high level recruiting set-up is not essential early on when you will be able to put to good use any type of survivor.
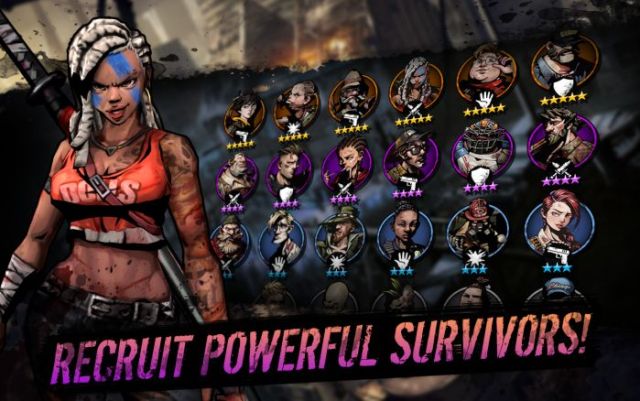
Constantly search for new survivors
But even though you don’t need to focus on leveling up the recruiting rooms, it doesn’t mean that you shouldn’t actually do any recruiting. Constantly search for new survivors and bring them in, making sure to spend some premium currency to increase the amount of survivors you can hold at least 2-3 times.
The reason why you want to pile up on survivors (and then train then to the maximum level possible) is that you will eventually unlock a game feature called Urban Warfare where you will need a ton of survivors to do well. So start early and prepare for when you unlock that feature! And we’ll talk more about it towards the end of this guide.
Level up your main survivors
And even though you will eventually need an army of survivors, for most of the time, you will actually need to focus on just several. These will be your main team and they always have to be max level in order to deal more damage, last longer in battles and do better overall. So always start with your best survivors when training them, then move down the ladder from there.
How to set up the perfect team
We’re talking here about your offense-based team, the one that will help you raid other players’ bases and complete the campaign missions easily. My recommended setup is something on the following lines (depending on the level you are at):
Start with two tanks, not more nor less. You need the tanks to be large and have both high HP and defense, to keep the zombies away. Hank is expensive but a great choice and getting two of them is overkill at least for a long while. Instead, pair him up with a 3 or 4 cost tank and you’ll be safe.
Next, bring 1 ranged unit and 1 area of effect damage dealer with you – these deal nice damage overall, but I don’t think that they are really useful in the long run. Instead, fill up the ranks with melee characters. They deal a lot of damage, are fast and will generally be protected by the tanks. Mix them up for having a bit of variety and you’re all set with your perfect team!
Use the tactics / skills to your advantage!
I don’t really get to use tactics a lot in battle, because I usually focus on getting my survivors on the field instead, but one of the most useful tactic that you can use is the one you have unlocked from the beginning: healing.
Except for its obvious benefits of healing all your team members and helping them last longer in battles, there’s an added benefit: it saves you from using medicine. In order to get that, try to always have enough points to activate the Healing skill a bit before defeating that last zombie – this way, your team’s health will be higher and you’ll have to spend less medicine to max them out again! A really useful trick!
Place similar rooms next to each other
If you place rooms of the same type and level next to each other, they will create a larger room of that type. There are no apparent benefits from doing this, since the production speed or stats are not affected… but there’s an important reason why you should put together as many rooms as possible:
If you have 2 or more together, the survivors defending them will also fight together when somebody attacks your base! And this is a lot better than having a single survivor defend your turf!
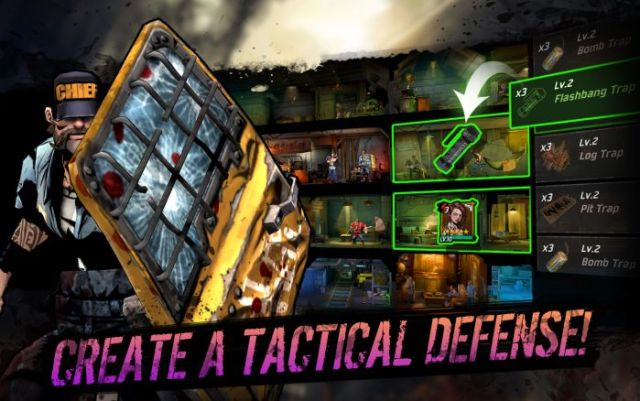
Work on those defenses!
Now, you will actually have to set up your defenses in the game. There are so many people who only have one character defending their base that I really can’t believe it.
Set up your defenses by tapping the button that shows two heads on the right, then the one that looks like a hand with arrows near it. That’s where you can set up your defenses, based on the level of your headquarters. This is also where you can change the locations of the rooms you have built to better set up your base.
Try to have as many survivors as possible fighting together, using the room boost tip above. The easiest large room you can get first is the Living Room since you can chain together three rooms, giving you three survivors fighting at the same time. My recommendation is for this room to be the first your opponent has to fight against, and you should have your best characters there.
The reason why you should do this is that early during the attack, an enemy won’t have that many troops on the battlefield and your three beasts will do massive damage, potentially defeating your opponent completely.
Tap the zombies outside
Zombie will start flocking outside your building: make sure to constantly tap them when they’re there, in order to earn some free premium currency that you can put to good use in Undead Nation: Last Shelter!
Join and alliance and commit to tasks
Although currently not insanely useful, the alliances are an interesting feature of the game. Make sure to join an active one ASAP and be active there.
You can commit to various tasks in your alliance and depending on the thing you do, you will earn prestige for your alliance. This can be used to get special items from the shop, but also allows your alliance to unlock various boosts for various areas of the game (like extra productions, stat boosts for specific character types and so on).
But you really need to be in an active alliance in order to reap on the benefits, so spend some time alliance-hopping until you find the right one for you.
Don’t forget the free supply boxes!
They are easy to miss after upgrading your Headquarters a few times, but extremely valuable. Every 8 hours, you receive a free supply box in front of your building and you can stack up to three. Make sure to constantly collect those in order to make room for more.
And since we’re talking about supply boxes, don’t forget about the ones you receive from raids either! Sometimes the notification icon regarding their availability does not work.
Get most resources from raiding (and revenge)
Raiding the bases of other players is the best way to get a lot of extra resources to build up your own. But some are a lot easier to attack and loot than others, and you should always focus on those.
The easiest way to get a ton of resources is to get Revenge against the players who have attacked you. That doesn’t cost you any resources of your own and if you end up thinking that it’s not worth it, you can simply skip the attack. But usually these are active players with a lot of nice loot waiting for you.
When raiding other players, usually the food is the resource you’ll have to look out for since that’s what you will most likely be lacking. But remember that it costs materials to skip an opponent and these add up quickly, potentially making an attack not profitable. So instead of waiting for that big whale, raid those who have decent amounts as well – it might be more profitable in the long run!

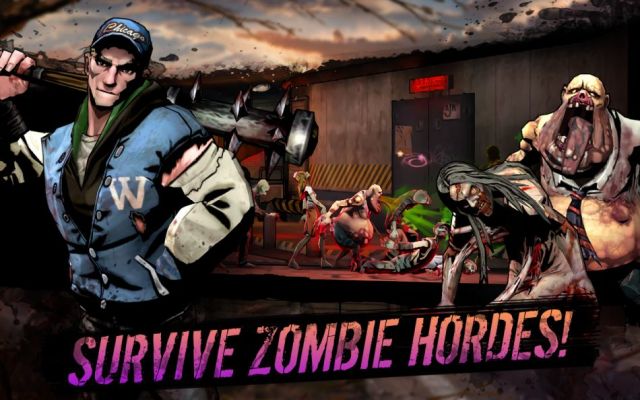
Do Urban Warfare for the most fun
Once you build the Garage in your Building, you unlock Urban Warfare, which is the most fun part of the game in my opinion. Here, you will fight against other real life players for the control of as many areas as possible in a zombie-infested map. You get top rewards for ranking high and it’s relatively easy to do well if you are active.
After defeating 2 buildings infested with zombies (or one owned by another player), you claim that area and can start improving its defenses. It’s something that you should do in order to make sure that the area does remain yours: add the maximum number of survivors to defend it and take advantage of the traps and other items that are randomly placed by the game there.
Have in mind that you can upgrade the buildings themselves using resources that you gather from attacking the zombie-infested buildings, which is something you should always do to increase the likelihood of you successfully defending it. It’s worth defending, especially since these buildings also generate regular resources for you!
This is also why you need a ton of survivors: the more areas you unlock, the more survivors you will need and you will soon end up realizing that 25-30 survivors is not much at all when you have to defend so many buildings. That’s why the best way to spend your premium currency on is the extra survivor slots option.
In most cases, you should focus on getting the areas from the zombies first (since it’s easier and doesn’t turn other players against you) and only when those are completed, you should start attacking the areas owned by other players. Try to always rank as high as possible in order to get the best possible rewards.
This would be all that we have for you right now in terms of generic tips and tricks for Undead Nation: Last Shelter. If you have additional suggestions for fellow players, don’t hesitate to let us all know by commenting below.


The 15 BP slot frustrates! How can one increase that to an even number?
I couldnt get support to come on in settings also no anything just credits it was very hard just getting here
I csnt put up message i know didnt do wrong havnt played n couple days pleasse help thank u